Are you tired of staring at plain, boring walls that lack personality and character? Do you yearn to add a personal touch to your living space without breaking the bank? Look no further!
In this extensive blog post, we will delve into the exciting world of DIY wall art ideas that will transform your walls into unique expressions of your creativity and style.
I. Getting Started with DIY Wall Art Ideas
A. Gathering Inspiration
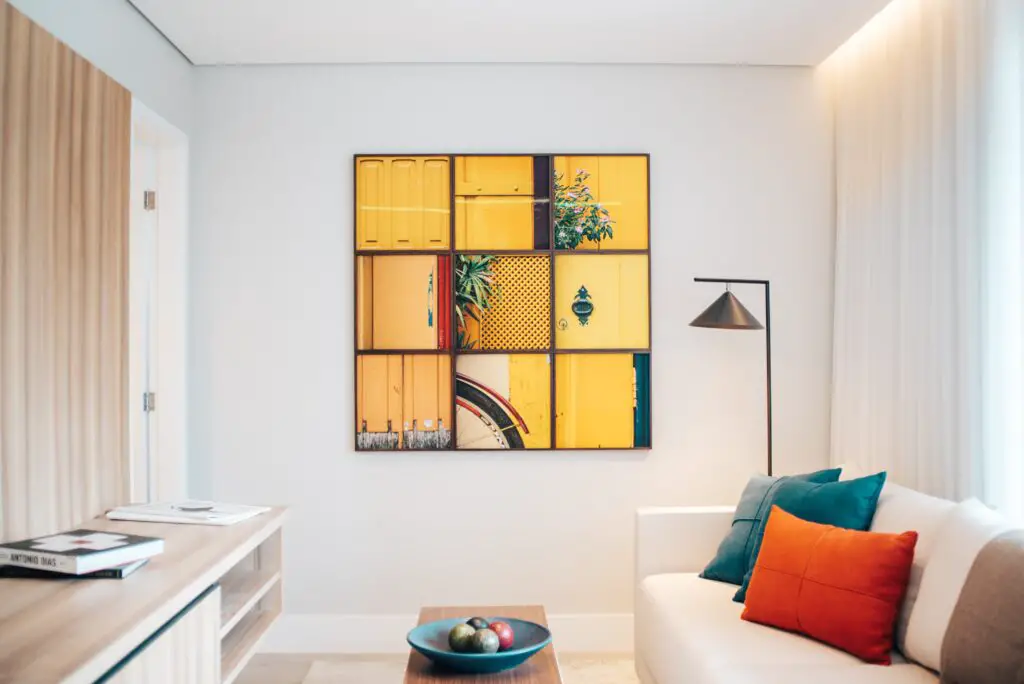
One of the most exciting aspects of DIY wall art is that the possibilities are virtually endless. The first step is to gather inspiration from various sources to find the perfect idea that aligns with your style and preferences.
Turn to online platforms like Pinterest and Instagram, where countless DIY enthusiasts and artists share their creations. You can explore an abundance of themes, styles, and materials to ignite your creativity.
Additionally, consider flipping through home decor magazines and art books, where you’ll find a wealth of design ideas and techniques. Sometimes, inspiration can also strike while you’re immersed in nature or simply going about your daily routine.
Pay attention to patterns, colors, and shapes that catch your eye – you never know when they may translate into a captivating wall art project!
B. Choosing a Theme or Style
With inspiration at your fingertips, it’s time to narrow down your choices and select a theme or style that resonates with you. Your chosen theme will set the tone for your living space and create a cohesive look. There are numerous styles to explore, including contemporary, vintage, nature-inspired, abstract, and personalized themes.
For a contemporary and modern feel, opt for clean lines, geometric shapes, and monochromatic color schemes. Vintage and retro themes, on the other hand, call for rustic elements, distressed finishes, and warm color palettes.
If you’re a nature lover, consider incorporating elements like pressed flowers, leaves, or driftwood into your art. Abstract and geometric styles invite bold, expressive designs, while personalized themes enable you to showcase cherished memories or inspirational quotes.
The key is to choose a style that reflects your personality and complements your existing decor. Remember, there are no strict rules in DIY wall art – you can mix and match styles to create a unique and eclectic display.
II. DIY Wall Art Materials and Tools
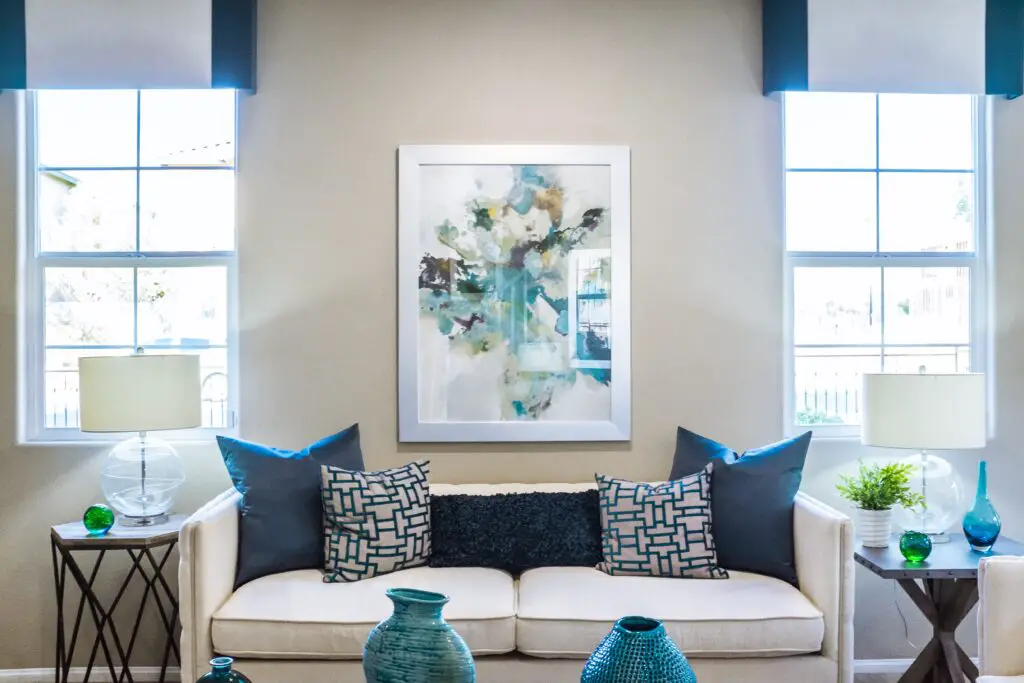
A. Essential Materials for Various Projects
Before diving into your DIY wall art adventure, you’ll need to gather essential materials based on the type of projects you intend to create. Having the right materials on hand will ensure smooth progress and successful outcomes.
Canvas or wooden boards serve as excellent foundations for paintings, while papers of different textures and colors are perfect for collage or decoupage projects.
Basic acrylic and watercolor paints, along with an assortment of brushes, are indispensable for artists. For those keen on textiles, fabric pieces, and glues are essential for creating fabric-based art.
If you’re eco-conscious, consider utilizing recycled materials such as cardboard, old magazines, or discarded items for upcycling projects. Embrace your resourcefulness and let sustainability become an integral part of your DIY journey.
B. Necessary Tools for Different Techniques
Equipping yourself with the right tools is crucial to ensuring your DIY wall art projects proceed seamlessly. The type of tools you’ll need largely depends on the techniques you plan to use.
For cutting and shaping materials, a pair of quality scissors, utility knives, or paper trimmers can be indispensable. Artists working with paints may need an array of brushes in various shapes and sizes, as well as sponges, to create unique textures. Pencils and markers are perfect for sketching out designs before diving into the final artwork.
When it comes to mounting and hanging your finished creations, make sure you have nails, hooks, or mounting tape that securely holds your art in place. Properly securing your art ensures longevity and keeps it safely displayed on your walls.
Before you get started, take inventory of the materials and tools you need for your chosen projects. This will save you time and frustration and allow you to focus solely on your creative process.
III. Easy and Budget-Friendly DIY Wall Art Ideas
A. Washi Tape Art
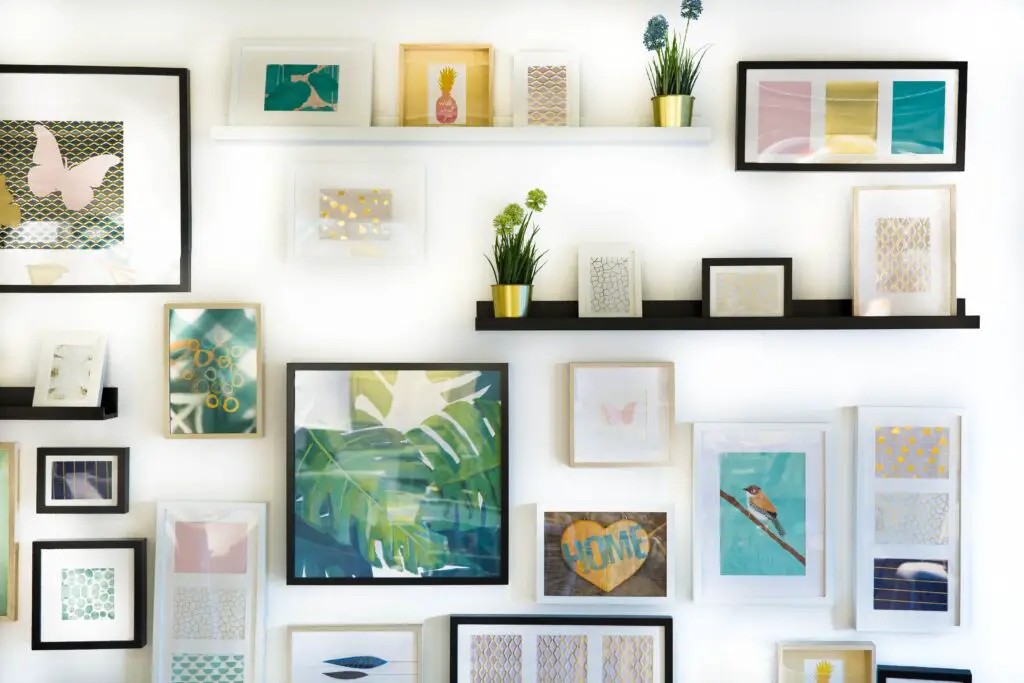
If you’re searching for a simple yet visually striking way to add charm to your walls, washi tape art is your go-to solution. Washi tape is a versatile decorative adhesive tape that comes in an assortment of colors, patterns, and widths, making it perfect for creating unique designs on your walls.
Geometric Shapes and Patterns
Embrace the trend of geometric designs by using washi tape to form triangles, squares, or hexagons on your walls. Experiment with different color combinations and layouts to achieve a visually appealing arrangement.
Customized Quotes and Messages
Express your creativity and personal style by using washi tape to write inspirational quotes, funny messages, or even your favorite song lyrics on your walls. This allows you to make your space truly your own and inject positive vibes into your daily life.
B. Framed Fabric or Wallpaper Swatches
When it comes to DIY wall art, think beyond traditional artwork. Framing fabric or wallpaper swatches can be a fantastic way to add texture and interest to your walls without investing in expensive artwork.
Mixing and Matching Patterns
Get adventurous and combine different fabric or wallpaper patterns to create an eye-catching collage of textures. Opt for complementary colors to maintain a cohesive look.
Creating Themed Collages
Choose fabric or wallpaper swatches that fit a specific theme or color scheme to craft themed collages. For instance, if you love the beach, consider using fabrics with nautical patterns and sandy hues.
C. Nature-Inspired Creations
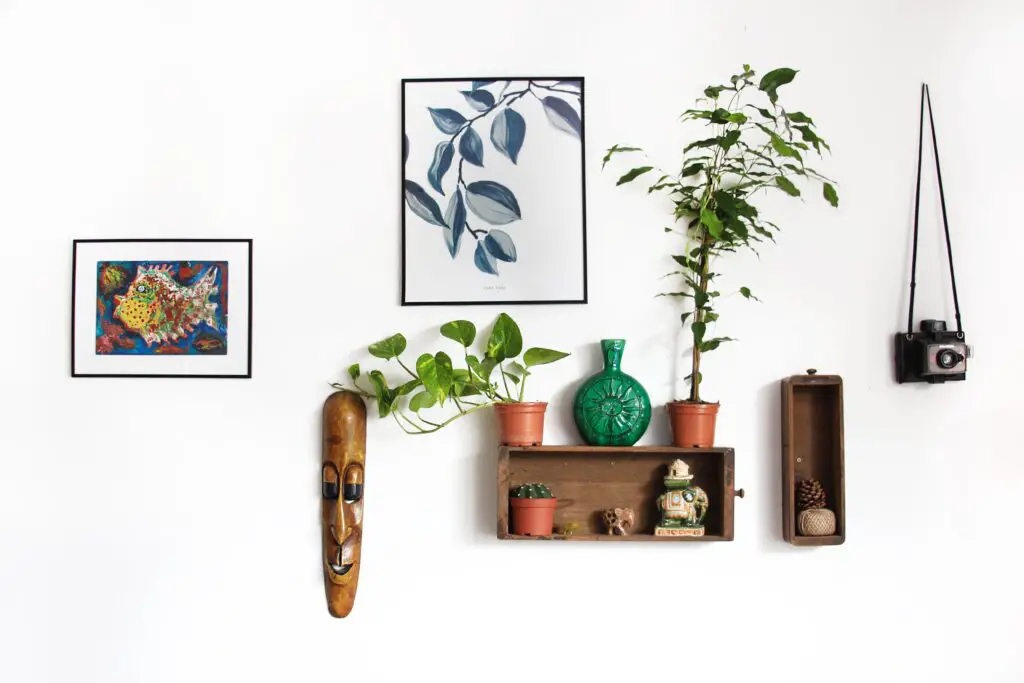
Bringing a touch of nature into your home can evoke a sense of tranquility and connect you to the great outdoors. Nature-inspired DIY wall art is not only beautiful but also environmentally friendly.
Pressed Flowers and Leaves
Collect and press flowers and leaves from your garden or local parks. Once dried, arrange them on paper or canvas and use glue to secure them in place. This delicate art will infuse your space with the beauty of nature.
Driftwood and Seashell Arrangements
If you have access to driftwood or seashells, put them to good use by creating charming wall art. Arrange driftwood pieces in various shapes or create captivating patterns with seashells. You’ll instantly evoke a coastal vibe in your living space.
D. Personalized Photo Displays
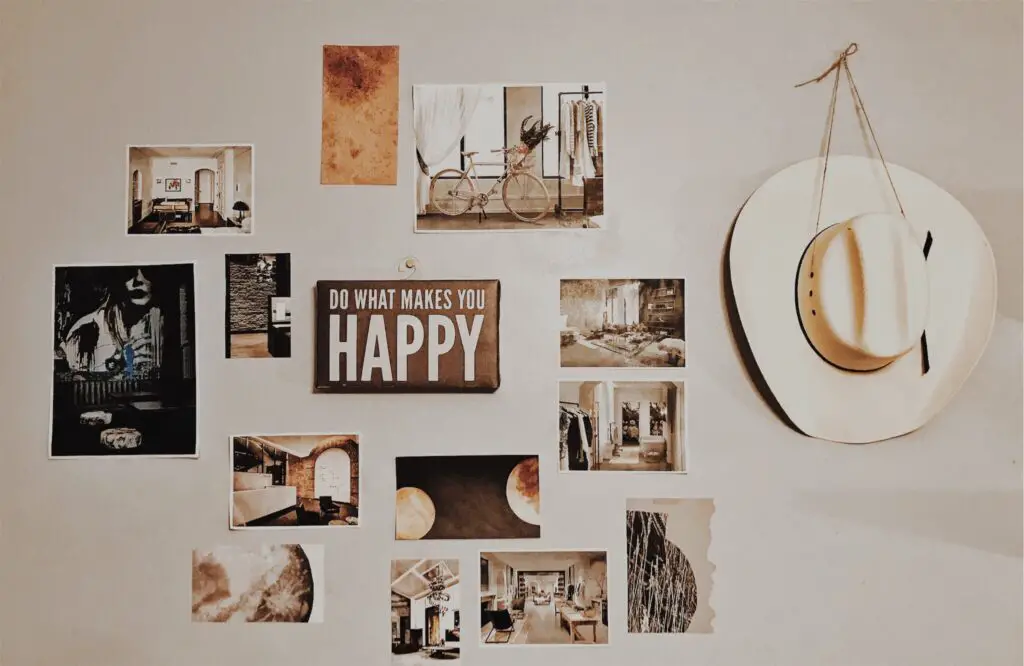
A DIY wall art project that’s close to the heart, personalized photo displays let you showcase cherished memories, relationships, and milestones in your life.
Hanging Polaroids or Printed Photos on a String
Create a string display by attaching photos to a string with clothespins. Polaroids or printed photos work best for this project, and you can easily swap them out whenever you want to refresh your display.
Creating a Family Tree Photo Collage
Showcase your family lineage and celebrate your loved ones with a family tree photo collage. Print out photos of family members and arrange them in a tree-like pattern, starting from older generations at the top and descending to the present.
IV. Intermediate DIY Wall Art Projects
A. Acrylic or Watercolor Paintings
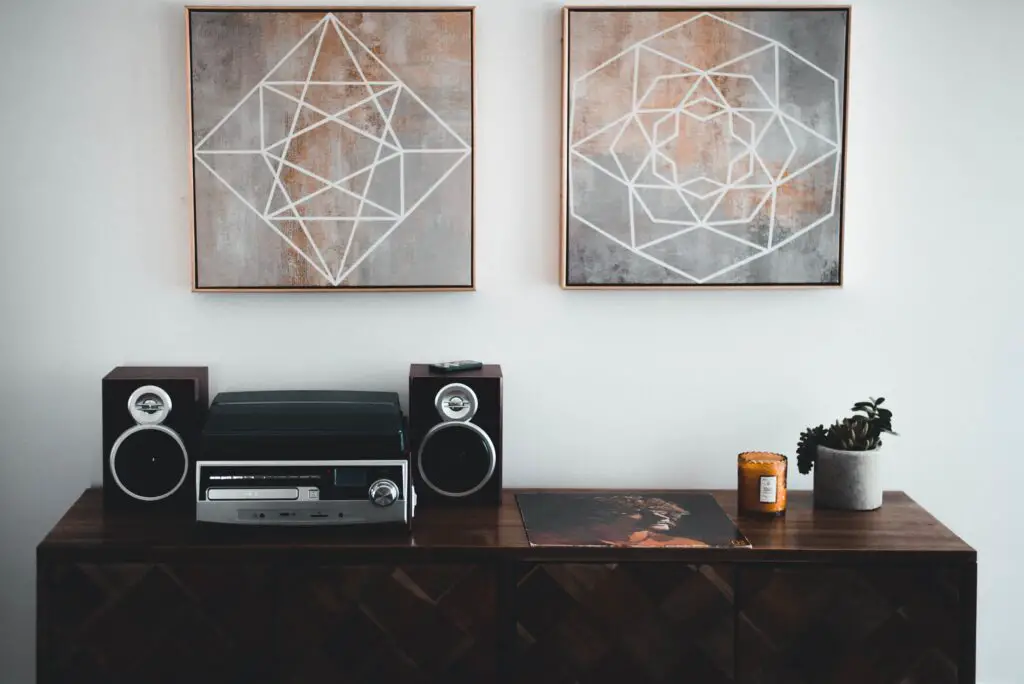
For those with a passion for painting, acrylic and watercolor techniques offer exciting possibilities to create captivating wall art.
If you’re new to painting, begin with simple tutorials that guide you through the process of creating beautiful art. Choose a subject that inspires you, and follow step-by-step instructions to develop your skills.
Seasoned artists can explore advanced techniques like layering, blending, and using unconventional tools to achieve unique effects. Experiment with different brush strokes, textures, and color palettes to create striking masterpieces.
B. Embroidery and Textile Art
Embrace the world of textiles and embroidery to produce wall art that brings texture and depth to your space.
Use embroidery hoops and fabric to craft intricate patterns or heartfelt quotes. Choose a font or design that resonates with you, and let the needle and thread work their magic.
Experiment with fabrics of different textures, like velvet, burlap, or lace, to create a multi-dimensional effect. Layer these textiles to craft visually appealing pieces that add an element of tactile interest to your walls.
C. Decoupage and Mixed Media
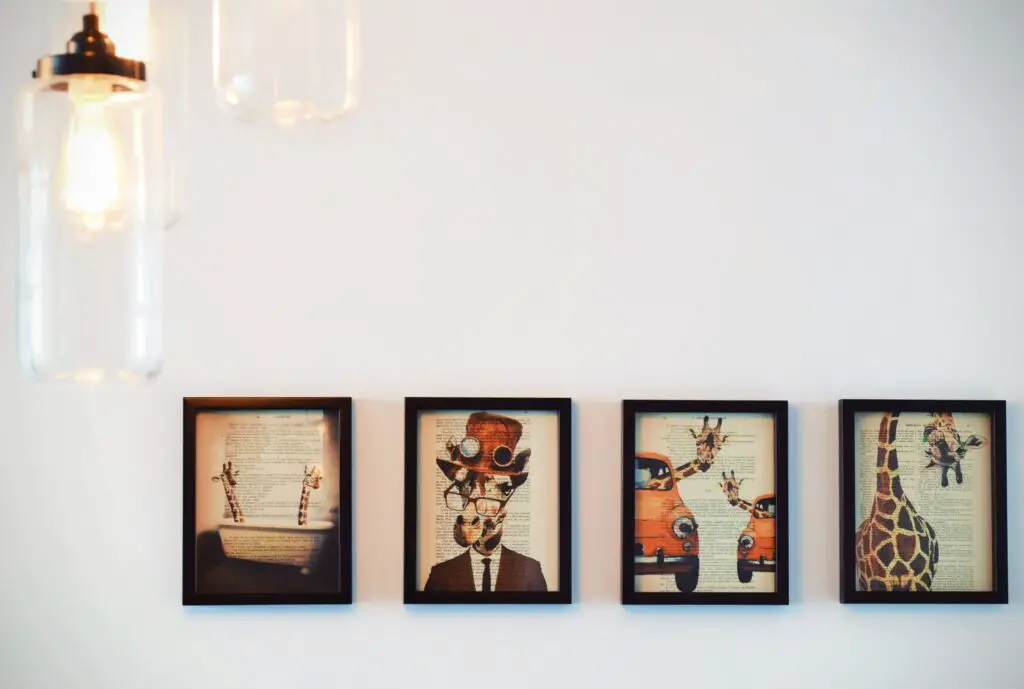
Decoupage and mixed media techniques allow you to combine various materials to form visually stunning wall art.
Decoupaging involves cutting out paper designs and adhering them to a surface using glue or a decoupage medium. Combine various paper cutouts and even incorporate fabric or 3D elements to create a dynamic collage.
Add depth to your art by layering materials like tissue paper, newsprint, and photographs. Experiment with translucent materials to create a sense of mystery and intrigue.
V. Advanced DIY Wall Art Techniques
A. Mosaic and Tile Art
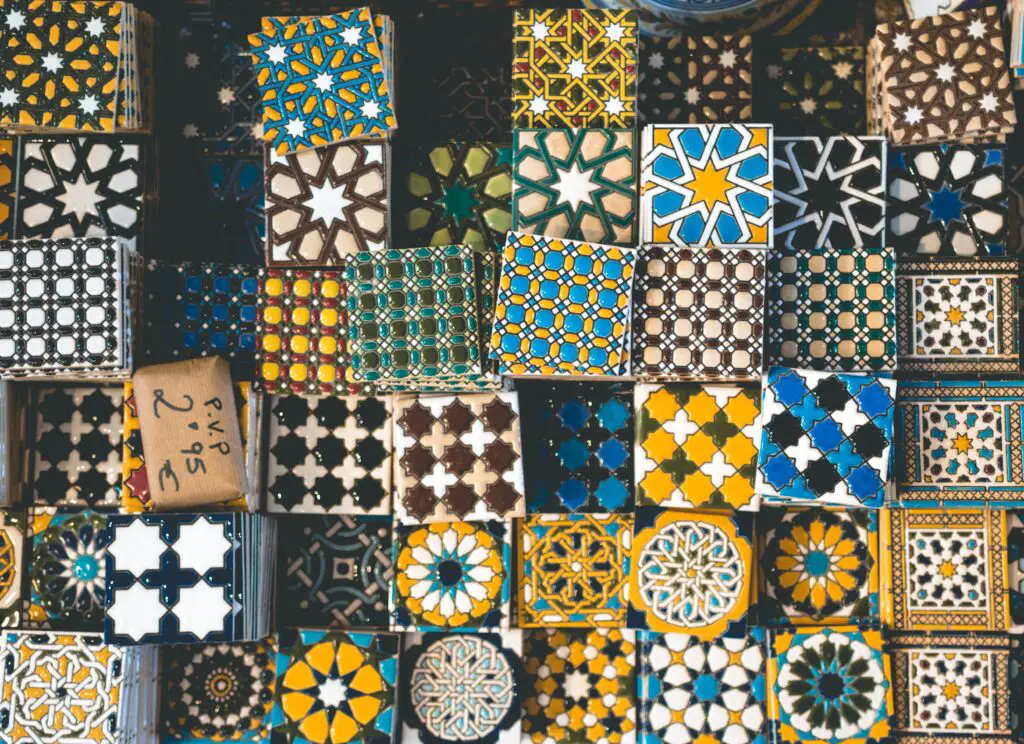
Mosaic and tile art are centuries-old crafts that produce mesmerizing wall art pieces.
Use tiny, colorful tiles or glass pieces to create intricate patterns, images, or even murals on your walls. Plan your design meticulously, and follow the grouting process to complete your mosaic masterpiece.
Experiment with various materials, such as glass, ceramic, or stones, to achieve different textures and finishes. Each material lends a unique character to your artwork, allowing you to create diverse pieces.
B. Woodwork and Sculptural Pieces
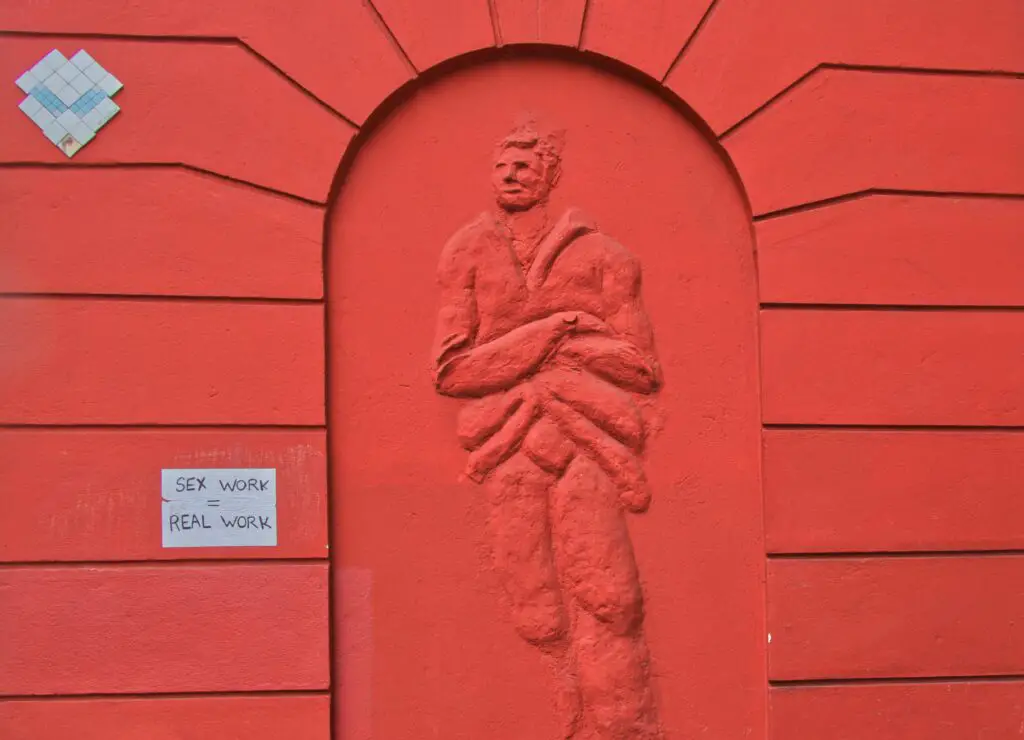
For those with carpentry skills, woodwork and sculptural pieces open a world of possibilities.
Transform pieces of wood into stunning wall hangings by carving intricate patterns or designs. Sand the surface until smooth, and finish with your choice of stain or paint.
Combine wood with metal or glass accent walls to add contrast and visual interest to your wall art. The blend of natural and industrial elements will create a unique focal point in any room.
C. Digital and Interactive Wall Art
Merge the world of art and technology to create digital or interactive wall installations.
Incorporate LEDs or projectors into your artwork to create dynamic displays that change colors or patterns. These interactive pieces can be controlled remotely, adding an element of surprise and versatility to your wall art.
Take your digital art to the next level by incorporating motion sensors. Your wall art can react to movement, creating a dynamic experience for anyone in its vicinity.
VI. Tips for Successful DIY Wall Art Projects
A. Planning and Sketching Before Starting
Begin each DIY wall art project with a clear vision of what you want to create. Sketch out your design and plan the layout before diving into the execution. Having a blueprint will save you time, ensure a smoother process, and reduce the likelihood of mistakes.
B. Experimenting with Different Techniques and Styles
Don’t be afraid to experiment with various techniques and styles. The beauty of DIY wall art lies in the freedom to explore your creativity. If you’re unsure about a particular approach, try it out on a smaller scale first to see if it aligns with your vision.
C. Taking Proper Measurements for Wall Placement
Before finalizing your DIY wall art, ensure you’ve taken accurate measurements of the wall space where you intend to hang or display the piece. This step will prevent any last-minute adjustments and ensure your artwork fits seamlessly into your home.
D. Ensuring Safety When Using Tools and Materials
DIY projects can be enjoyable, but safety should always come first. When working with tools and materials, wear appropriate safety gear, and follow instructions carefully. Keep sharp objects and hazardous materials out of reach of children and pets.
E. Regularly Updating or Refreshing Wall Art for Variety
As your taste and preferences evolve, you may wish to update your DIY wall art periodically. Embrace change and refresh your living space to keep things interesting. By swapping out old artwork for new creations, you’ll ensure your space reflects your current style and personality.
VII. Conclusion
Adding a personal touch to your living space through DIY wall art is a gratifying and rewarding experience. Not only do you create unique pieces that resonate with your personality, but you also infuse your home with warmth and creativity.
Throughout this blog post, we’ve explored various DIY wall art ideas, from easy and budget-friendly projects to more intricate and advanced techniques. Whether you’re an aspiring artist or a passionate DIY enthusiast, there’s a project to suit your skill level and preferences.
Frequently Asked Questions (FAQs)
1. How Can I Decorate My Room Wall DIY?
Decorating your room walls with DIY art is a fantastic way to add a personal touch to your space. Explore various DIY wall art ideas, such as painting, collages, photo displays, or using washi tape to create unique patterns. Remember to choose a theme or style that resonates with you and complements your room’s decor.
2. How Can I Decorate My Walls Without Hanging Things?
If you prefer not to hang things on your walls, consider using alternative methods for decorating. Try leaning framed artwork or mirrors against the wall, utilizing floating shelves to display decor items, or using removable adhesive hooks to hang lightweight pieces without damaging your walls.
3. What Can You Hang on Your Wall?
You can hang a wide range of items on your walls to add charm and character to your space. Some ideas include framed art and photographs, decorative mirrors, woven tapestries, wall clocks, shelves with decor pieces, and even wall-mounted planters.
4. How Can I Draw on My Wall?
Drawing directly on your wall can be a fun and creative way to personalize your space. Use washable markers or chalk pens to create temporary designs or patterns. Alternatively, you can use stencils to achieve intricate designs with paint or create a large-scale mural that speaks to your artistic vision.
5. Where Can I Find More DIY Wall Art Ideas and Inspiration?
For additional DIY wall art ideas and inspiration, explore online platforms like Pinterest and Instagram, where countless creative individuals share their artwork and design concepts. Interior design magazines and books are also excellent sources of inspiration for wall art projects.
6. How Can I Choose the Best DIY Wall Art Theme for My Space?
Choosing the best DIY wall art theme for your space depends on your personal preferences and the existing decor. Consider your style preferences, color scheme, and the ambiance you want to create in the room. Whether you prefer contemporary, vintage, nature-inspired, abstract, or personalized designs, select a theme that resonates with you and complements your living space.
7. Can I Combine Different DIY Wall Art Techniques in One Piece?
Absolutely! Mixing and matching different DIY wall art techniques can result in stunning and unique pieces. For instance, you could combine painting with decoupage or embroidery with mixed media for a multidimensional artwork that truly stands out.
8. Are There Any Safety Precautions to Consider During DIY Wall Art Projects?
Yes, safety should always be a priority when undertaking DIY wall art projects. Always read and follow the instructions provided with the tools and materials you are using. Use appropriate safety gear, such as gloves or safety glasses, when necessary. Work in a well-ventilated area and keep sharp tools out of the reach of children.
9. How Often Should I Update My DIY Wall Art?
There’s no set rule for how often you should update your DIY wall art. It depends on your personal preferences and how often you want to refresh your space. Feel free to update or change your wall art whenever you feel the need for a fresh look or to reflect new inspirations and experiences in your life.
