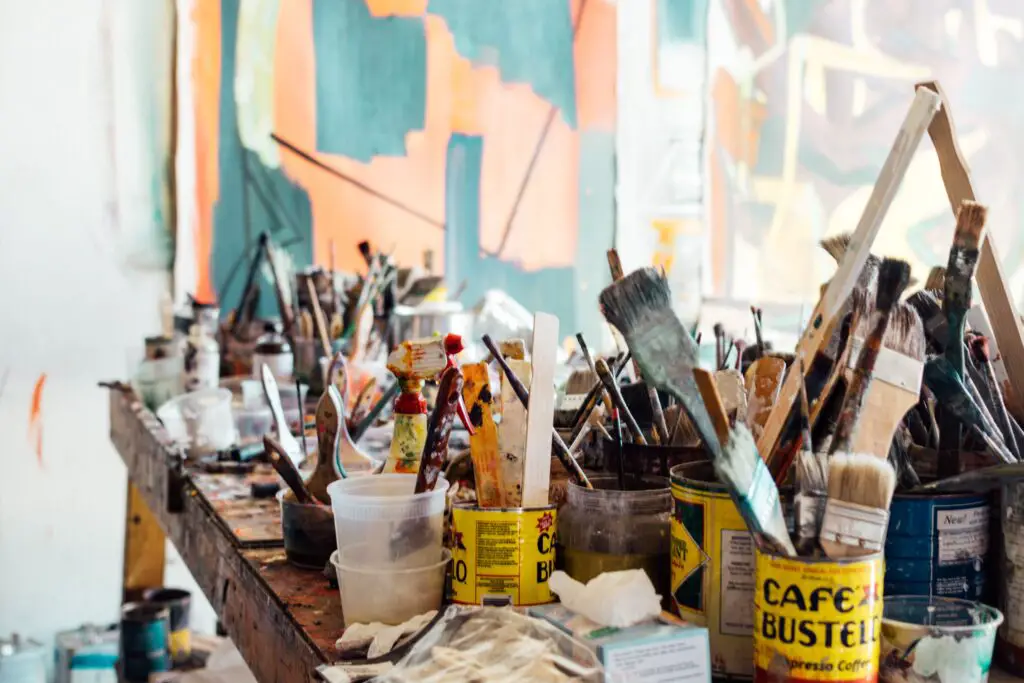
Are you a passionate crafter constantly surrounded by colorful ribbons, beads, paints, and brushes? If so, you know that crafting can bring immense joy and satisfaction. However, it also comes with the challenge of keeping your craft supplies organized.
Tackling this task can be overwhelming, especially when you’re short on space and budget. Fear not, for in this comprehensive guide, we will explore a myriad of DIY storage solutions for craft supplies that will help you transform chaos into creativity!
I. Assessing Craft Supplies and Storage Needs
Before we embark on our crafting space transformation journey, let’s take a moment to assess what we have and what we need. Start by taking inventory of your craft supplies. Sort them into categories, such as papers, fabrics, paints, tools, and embellishments. This step will help you understand the types of storage solutions required.
Perhaps you have a collection of small buttons, beads, and sequins. They are essential for crafting but can be easily misplaced if not organized properly. On the other hand, you might have larger items like yarn skeins, ribbons, and rolls of wrapping paper that need their designated space. By categorizing your supplies, you can better plan your DIY storage solutions.
Consider the available space in your crafting area. Are you working in a small corner of your bedroom or lucky enough to have a dedicated craft room? Understanding the space constraints will guide your storage choices and help maximize every inch of available area.
II. Basic Principles of Effective DIY Storage Solutions
Before diving into specific storage ideas, it’s essential to understand the basic principles of effective crafting storage. These principles will serve as the foundation for organizing your craft supplies efficiently.
A. Maximizing Vertical Space
Vertical space is often underutilized in crafting areas. Installing shelves or racks on the walls can be a game-changer, providing additional storage without taking up valuable floor space. Wall-mounted solutions are perfect for displaying frequently used supplies or showcasing colorful spools of thread.
B. Utilizing Wall Space Efficiently
Pegboards and corkboards are versatile tools for craft storage. By adding hooks and containers, you can hang scissors, rulers, brushes, and other tools with ease. These boards can also serve as an inspirational display for your ongoing projects.
C. Sorting and Categorizing Craft Supplies
As mentioned earlier, sorting and categorizing your craft supplies are vital steps. Keeping similar items together will make it easier to find what you need during a crafting session. Invest in clear containers or jars so you can quickly identify the contents without rummaging through boxes.
D. Using Clear Containers and Labels for Easy Identification
Transparent storage containers are a game-changer for crafters. When you can see what’s inside, you save time searching for specific items. Additionally, labeling each container will further enhance organization, preventing mix-ups and confusion.
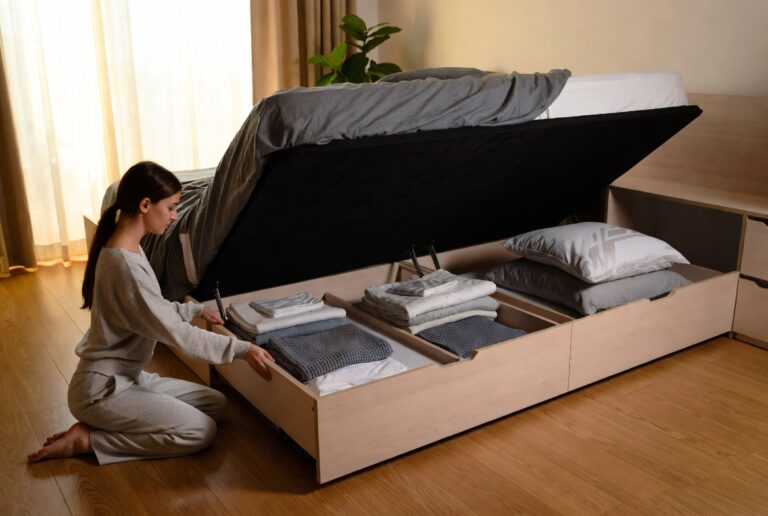
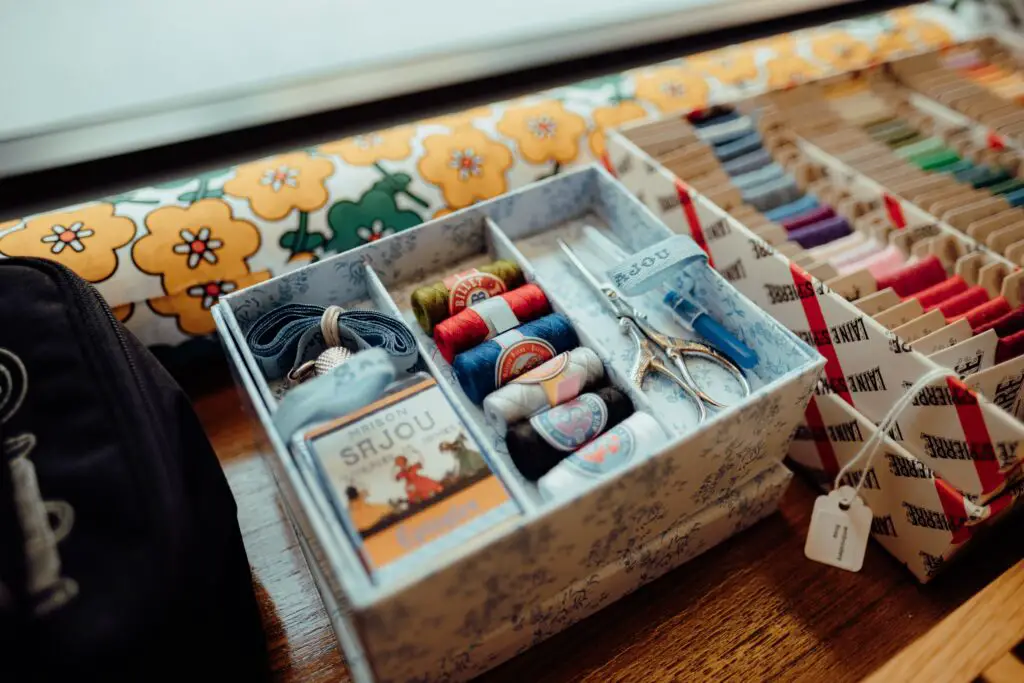
III. DIY Storage Solutions for Small Craft Supplies
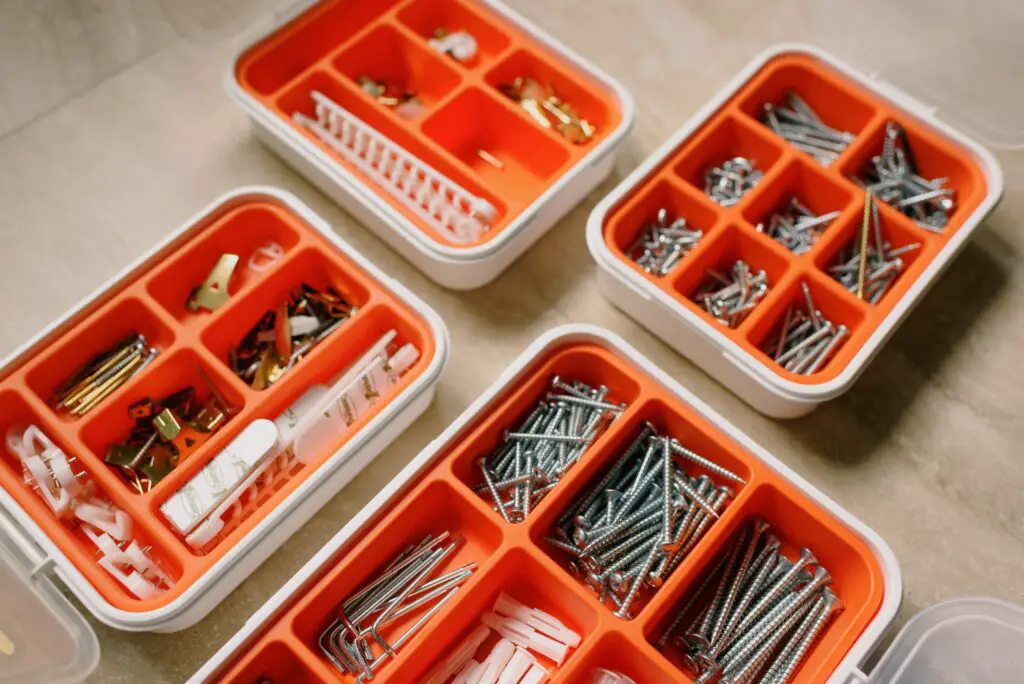
Small craft supplies, such as beads, buttons, and sequins, tend to be the trickiest to store. However, with a touch of creativity, you can create efficient and visually appealing solutions for these tiny treasures.
A. Creating a Modular Drawer System
One of the most effective ways to store small craft supplies is by designing a modular drawer system. This customizable solution allows you to arrange drawers in various configurations to suit your needs. To create this system, you’ll need:
Materials:
- Wooden drawers or small plastic containers
- Wooden plank or MDF board
- Screws and screwdriver
- Paint or wallpaper (optional for decoration)
- Label maker or adhesive labels
Step 1: Prepare the Drawers
If you’re using wooden drawers, sand them down and paint them in your preferred color. Alternatively, you can decorate them with patterned wallpaper for a more whimsical look. For plastic containers, choose clear ones to easily see the contents.
Step 2: Build the Frame
Using a wooden plank or MDF board as the base, attach the drawers to the board using screws and a screwdriver. Position the drawers close together to maximize space.
Step 3: Label the Drawers
Label each drawer according to the items it will hold. A label maker or adhesive labels work well for this purpose.
Step 4: Arrange the System
Place the modular drawer system on your crafting table or mount it on a wall for easy access.
B. Designing a Compartmentalized Storage Box
Another fantastic idea for storing small craft supplies is to create a compartmentalized storage box.
Materials:
- Shoebox or any similar box with a lid
- Cardboard or foam board
- Craft knife or scissors
- Ruler
- Adhesive or double-sided tape
- Small plastic containers or cups
Step 1: Measure and Cut
Measure the inside of the shoebox and cut the cardboard or foam board to fit as dividers.
Step 2: Arrange the Dividers
Place the dividers inside the shoebox to create compartments of different sizes.
Step 3: Secure the Dividers
Using adhesive or double-sided tape, secure the dividers in place.
Step 4: Add Small Containers
Place small plastic containers or cups inside the compartments to hold the small craft supplies.
C. Using Ice Cube Trays or Pill Organizers
Ice cube trays or pill organizers can be repurposed to store tiny components like beads, sequins, and buttons. Simply fill each compartment with a specific type of supply, and you’ll have an organized storage solution in no time.
D. Repurposing Spice Racks and Organizers
Spice racks or organizers designed to hang on the back of cabinet doors are excellent for storing small craft supplies. The clear containers and hanging design make it easy to access and view the items you need.
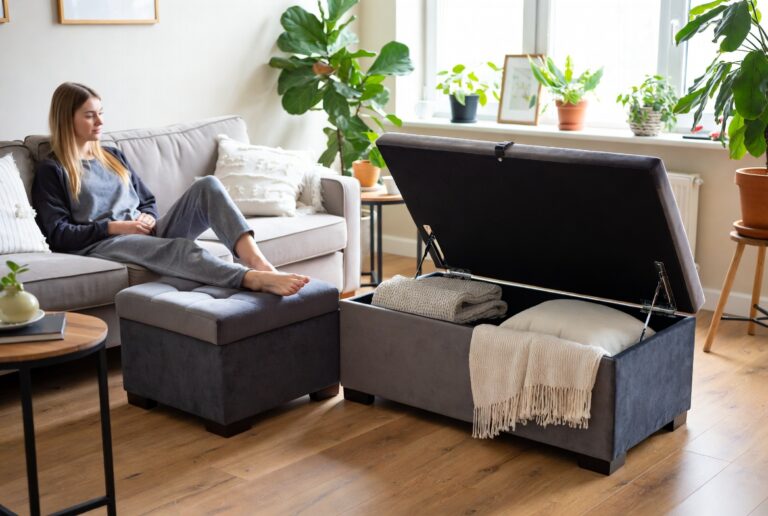
IV. DIY Storage Solutions for Larger Craft Supplies
Larger craft supplies, such as fabric bolts, yarn, and rolls of paper, require more substantial storage solutions. Let’s explore some ideas to keep these items tidy and accessible.
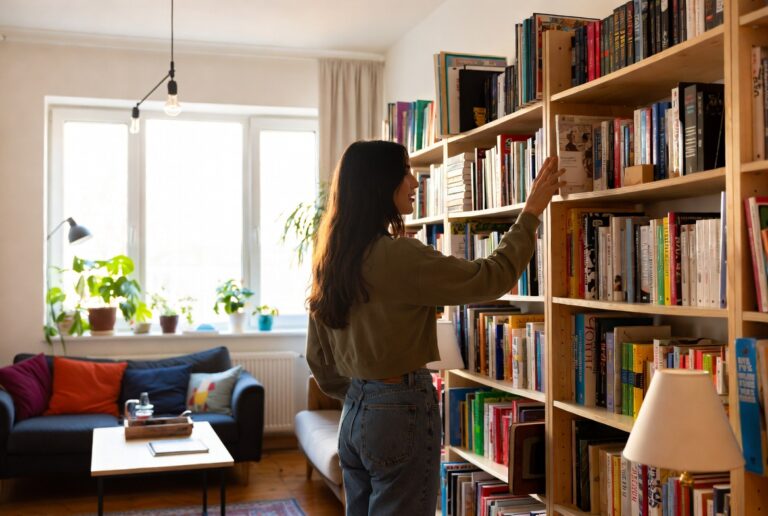
A. Building a Customized Shelving Unit
A customized shelving unit tailored to your crafting needs is an excellent investment. This DIY project may require more effort, but it’s worth it in the long run.
Materials:
- Wooden boards or plywood
- Wood screws
- Screwdriver
- Level
- Measuring tape
- Paint or wood finish (optional for decoration)
Step 1: Measure and Plan
Measure the available wall space and plan the dimensions and layout of your shelving unit. Consider the height and width of the shelves to accommodate various craft supplies.
Step 2: Cut the Boards
Cut the wooden boards or plywood to the desired lengths for the shelves and side supports.
Step 3: Assemble the Unit
Use wood screws and a screwdriver to assemble the shelving unit. Use a level to ensure it is straight and balanced.
Step 4: Paint or Decorate (Optional)
If you want to add a touch of creativity, paint the shelves in your favorite colors or apply a wood finish for a more natural look.
Step 5: Organize Craft Supplies
Once the shelving unit is ready, organize your larger craft supplies on the shelves according to category or color.
B. Constructing a Pegboard Wall
Pegboards are versatile and efficient for storing larger craft supplies and tools. Let’s see how to create your own pegboard wall.
Materials:
- Pegboard (available at hardware stores)
- Hooks and holders for tools and supplies
- Drill and screws
- Level
- Measuring tape
Step 1: Measure and Mount the Pegboard
Measure the wall space where you want to install the pegboard. Use a level to ensure it is straight, then mark the mounting points. Drill holes and attach the pegboard to the wall using screws.
Step 2: Arrange the Hooks and Holders
Select a variety of hooks and holders that suit your craft supply needs. Hang tools, ribbons, scissors, and other items on the pegboard for easy access.
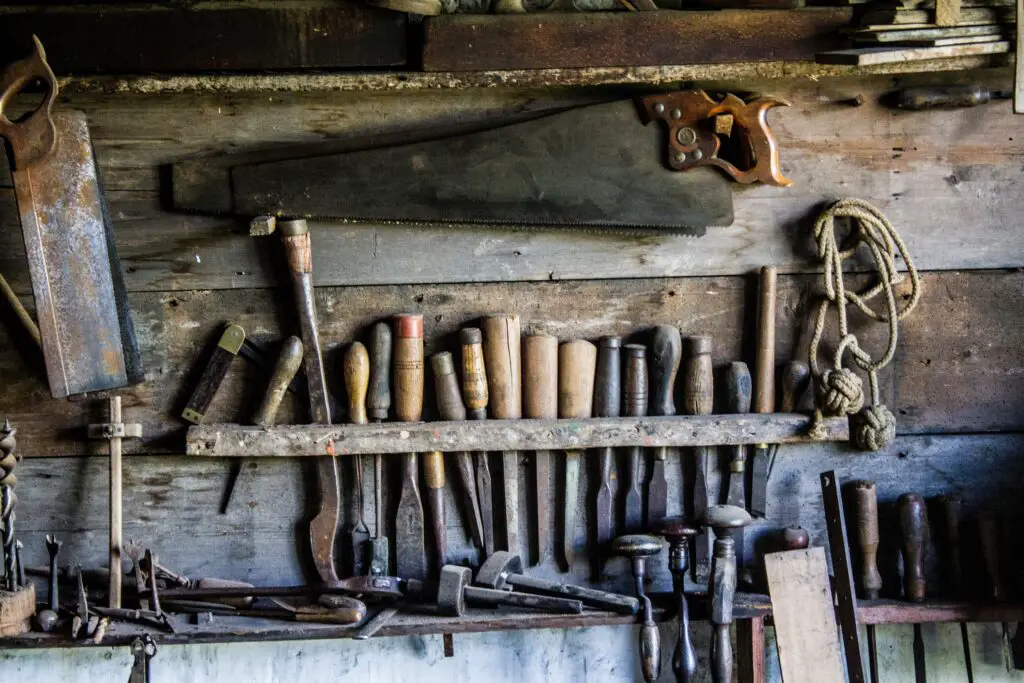
C. Repurposing Old Furniture
Don’t underestimate the potential of repurposing old furniture for craft supply storage. Bookshelves, cabinets, and drawers can find new life as crafting organizers.
D. Making Use of Hanging Organizers
Hanging organizers, originally designed for shoes or clothing, can be repurposed to store rolls of wrapping paper and larger fabric pieces. Hang these organizers on the back of doors or in your crafting area to save space.
V. Creative DIY Storage Ideas
Now that we’ve covered the basics let’s explore some creative and unique DIY storage ideas that will add a personal touch to your crafting space.
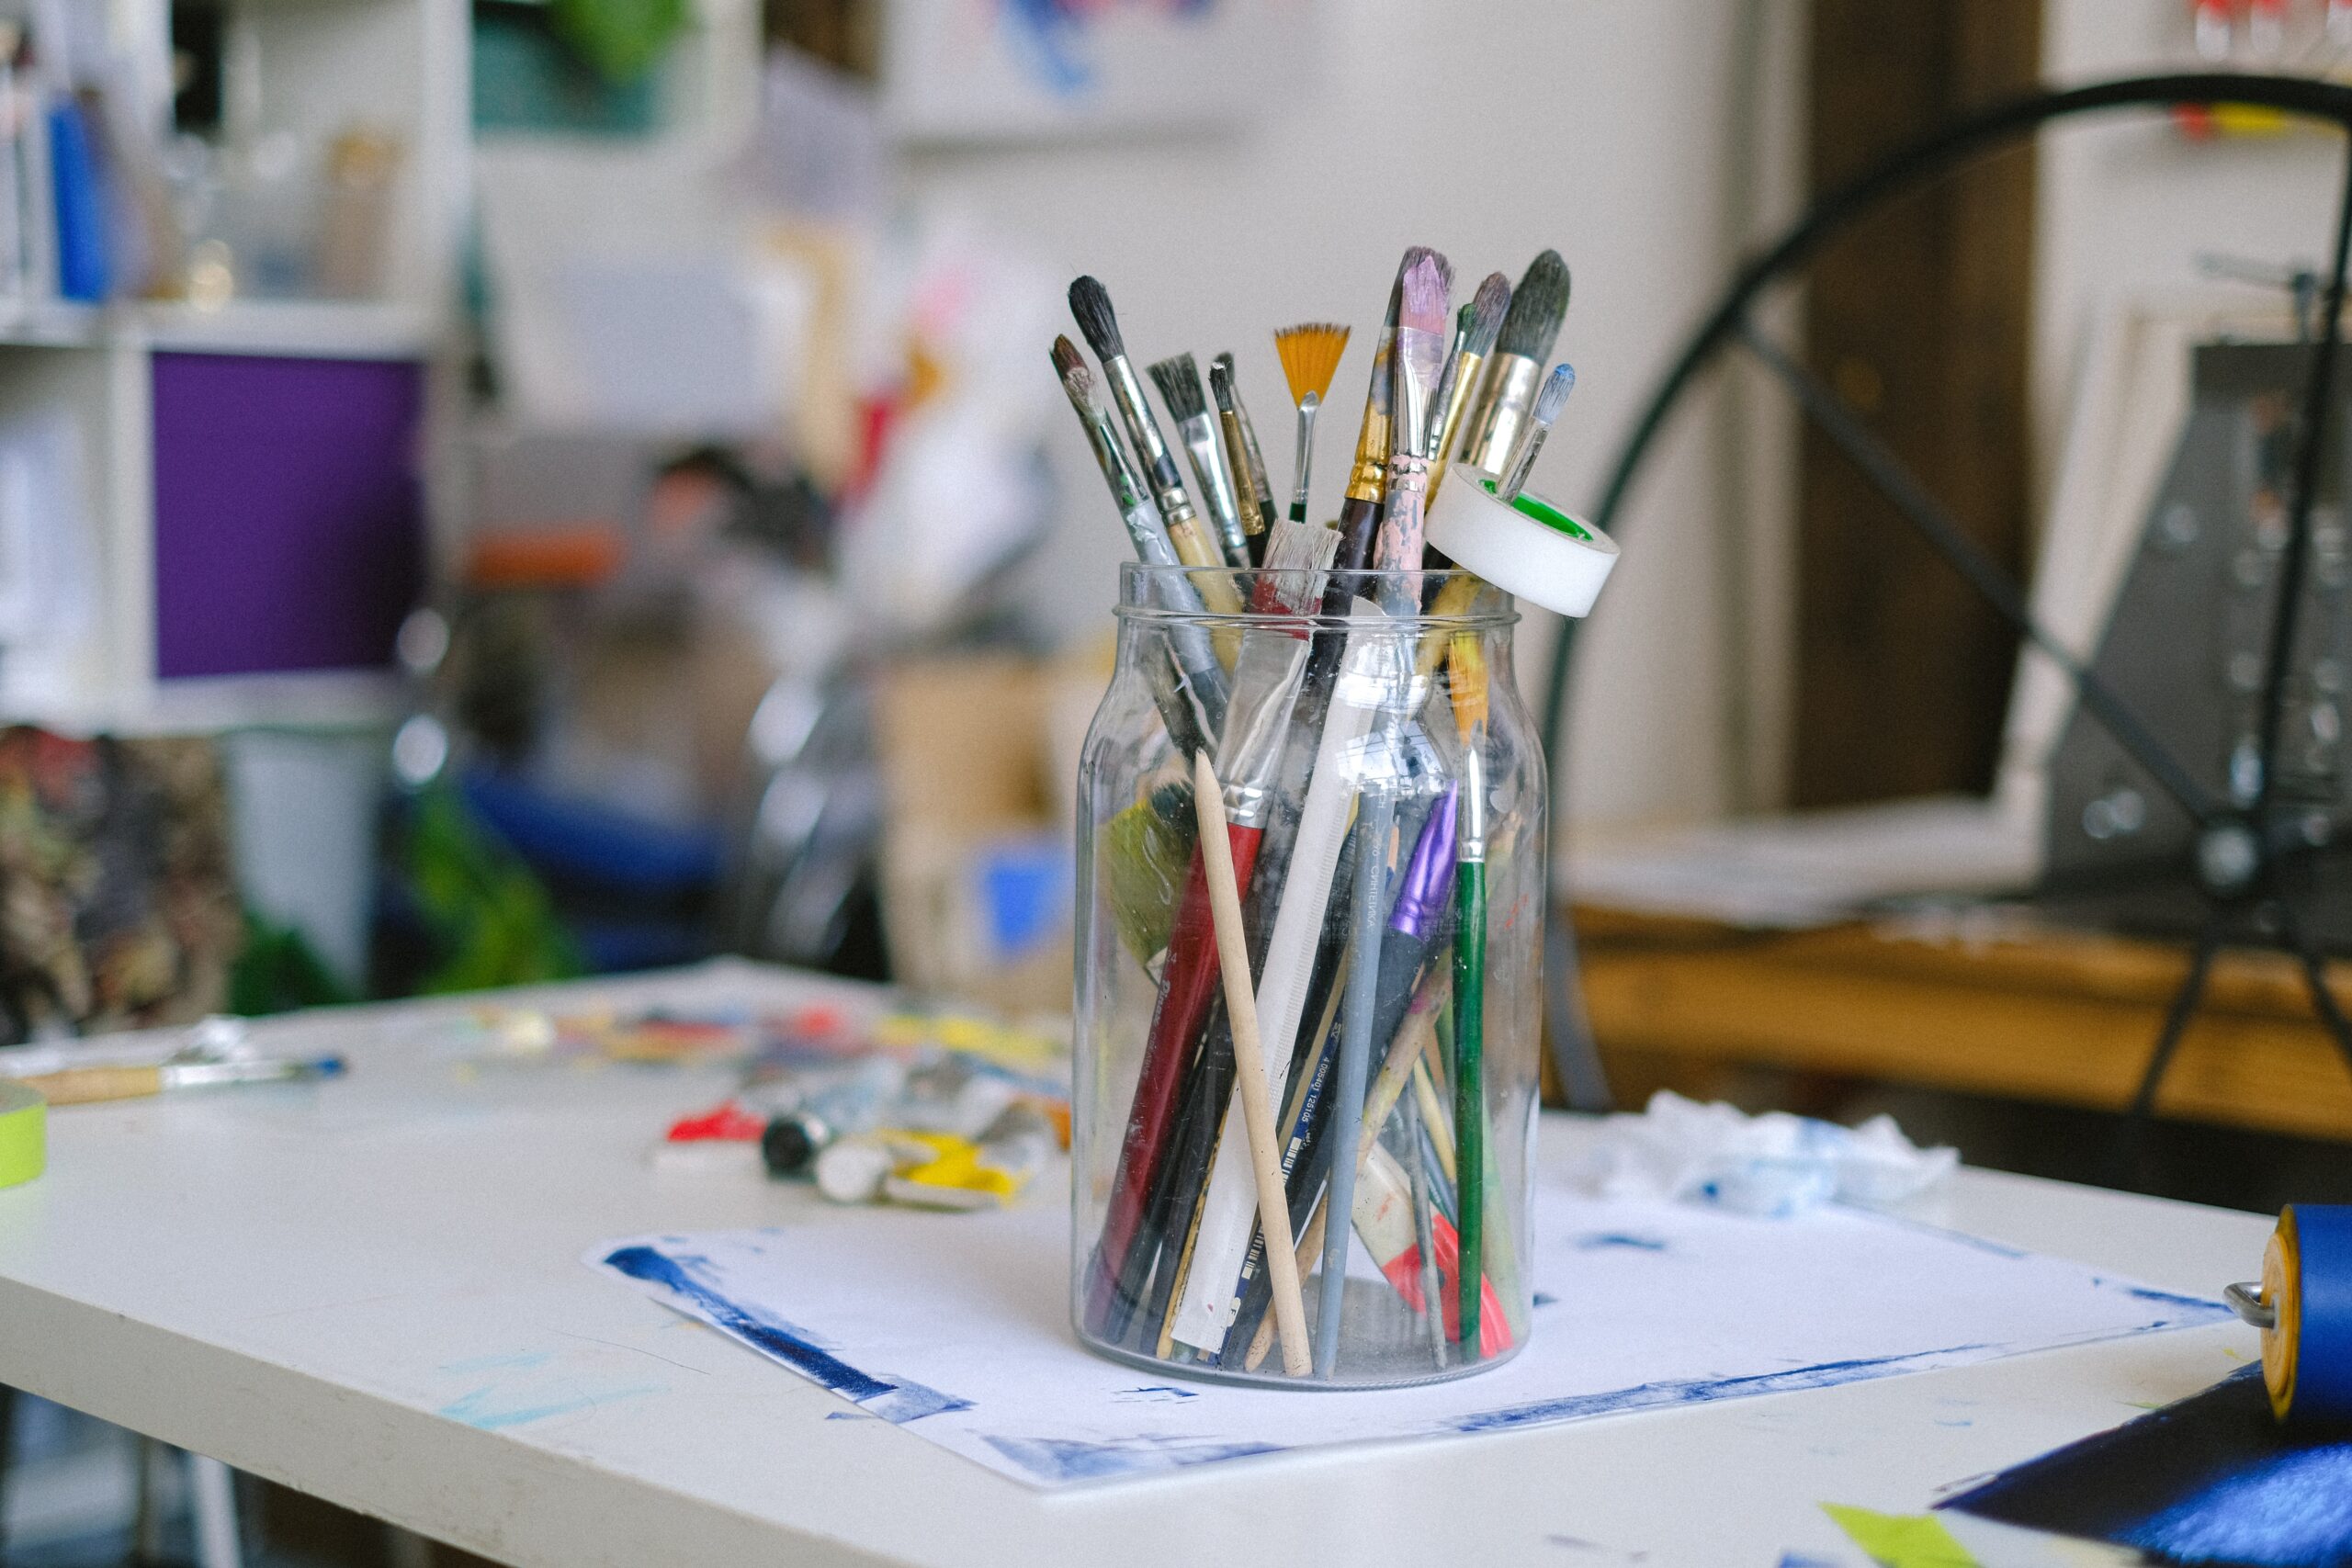
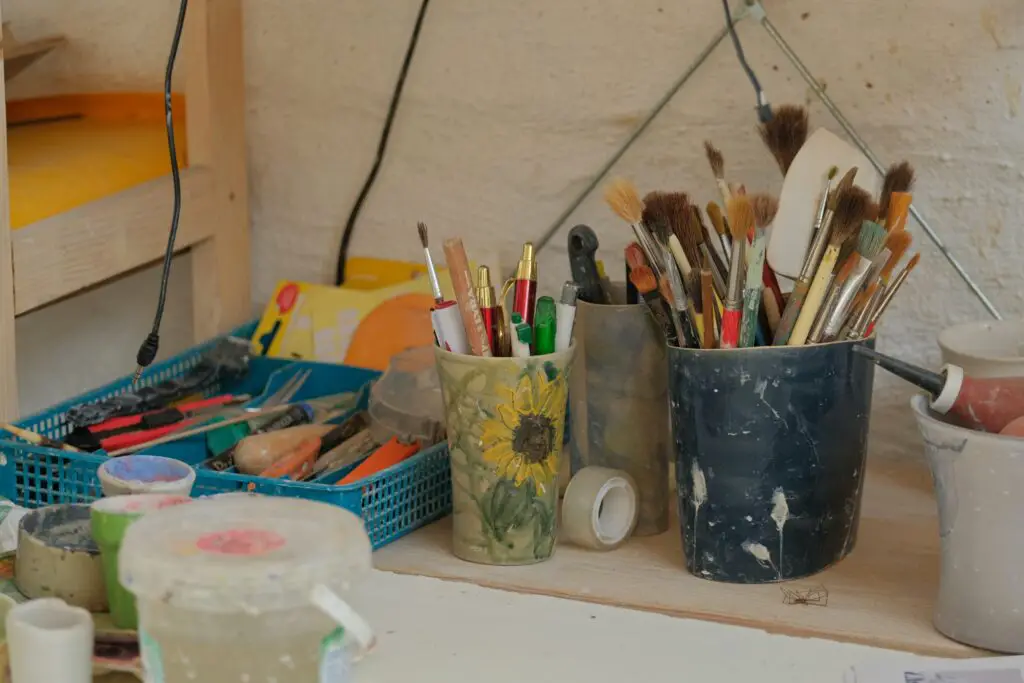
A. Mason Jar Paintbrush and Pen Holder
Transform a piece of wood into a functional and decorative holder for paintbrushes and pens using mason jars. This charming addition will add a rustic feel to your crafting area.
Materials:
- Wood plank
- Mason jars (size according to your preference)
- Screws and screwdriver
- Paint or wood finish (optional for decoration)
Step 1: Prepare the Wood
Sand the wood plank and paint it in your desired color or apply a wood finish to enhance its natural beauty.
Step 2: Attach the Mason Jars
Position the mason jars on the wood plank and mark where you want them to be placed. Use screws to secure the jars to the wood.
Step 3: Hang the Holder
Hang the completed holder on the wall near your crafting area. Fill the mason jars with paintbrushes, pens, or other crafting tools.
B. Wall-Mounted Washi Tape Holder
Washi tapes are popular in crafting and can accumulate quickly. Create a wall-mounted washi tape holder to keep your collection organized and within reach.
Materials:
- Wood board or foamboard
- Craft knife or scissors
- Ruler
- Washi tape (to decorate the holder)
- Hooks or dowels
Step 1: Measure and Cut the Board
Measure the length and width of your washi tapes, and cut the wood board or foam board to match these dimensions.
Step 2: Create Slots
Using the craft knife or scissors, cut evenly spaced slots along the length of the board. These slots will hold the washi tapes.
Step 3: Decorate the Holder
Apply washi tape to the edges of the board to add a decorative touch.
Step 4: Install Hooks or Dowels
Install hooks or insert dowels at the top and bottom of the board to hang the holder on the wall.
C. Foldable Table with Storage
If you’re short on space, a foldable table with storage is a brilliant solution for small crafting projects.
Materials:
- Wooden board or plywood (for the table surface)
- Hinges
- Screws and screwdriver
- Table legs
- Paint or wood finish (optional for decoration)
Step 1: Create the Table Surface
Measure and cut the wooden board or plywood to your desired table size.
Step 2: Attach the Hinges
Attach hinges to one side of the table surface and the wall. This will allow the table to fold down when not in use.
Step 3: Add Table Legs
Secure table legs to the underside of the table surface. These legs should fold up when the table is folded down.
Step 4: Decorate (Optional)
Paint the table surface or apply a wood finish for a polished look.
Step 5: Install Storage
Depending on the available space, add shelves or containers underneath the table for storage.
D. Mobile Cart with Drawers
A mobile cart with drawers provides convenient storage and easy access to frequently used craft supplies.
Materials:
- Rolling cart with drawers
- Paint or adhesive shelf liner (optional for decoration)
Step 1: Choose the Cart
Select a rolling cart with drawers that best fits your craft supply needs. Consider the size and number of drawers required.
Step 2: Decorate (Optional)
To personalize your cart, you can paint it in your favorite colors or line the drawers with adhesive shelf liners in fun patterns.
Step 3: Organize Your Supplies
Sort and organize your craft supplies in the cart drawers according to category or frequency of use.
VI. Budget-Friendly DIY Storage Solutions
Crafting storage doesn’t have to break the bank. Let’s explore some budget-friendly ideas to keep your craft supplies organized without overspending.
A. Using Recycled or Upcycled Materials
Before tossing away cardboard boxes, tin cans, or glass jars, consider repurposing them as craft supply organizers. With a little creativity and some paint, you can turn these items into charming storage solutions.
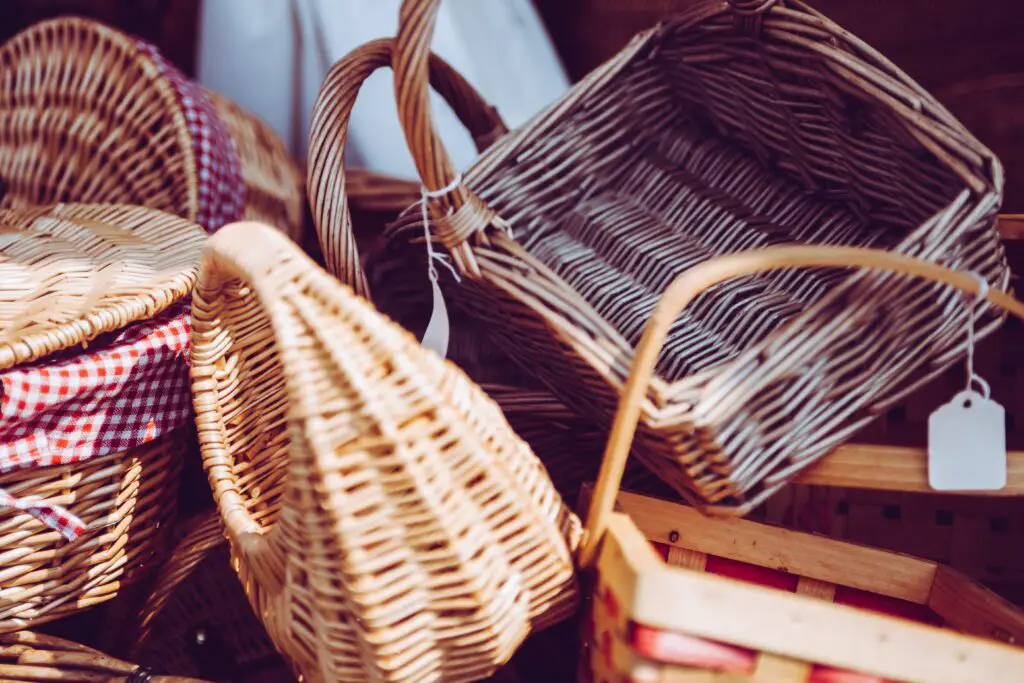
B. Shopping at Thrift Stores and Discount Outlets
Thrift stores and discount outlets can be treasure troves for affordable storage containers. Keep an eye out for baskets, bins, and containers that suit your needs. You might find hidden gems at incredibly low prices.
C. Implementing DIY Hacks
Explore online tutorials and DIY hacks for craft supply storage. From using repurposed shoe organizers to creating drawer dividers from cereal boxes, you’ll find countless clever ideas to organize on a budget.
VII. Safety and Organization Tips
As you set up your DIY craft supply storage solutions, safety should always be a priority. Follow these tips to ensure a safe and organized crafting space.
A. Storing Hazardous Materials Properly
Some craft supplies, such as adhesives, sharp tools, and chemicals, can be hazardous if not stored properly. Keep these items out of reach of children and pets. Consider using lockable containers or cabinets for added safety.
B. Keeping Crafting Space Organized and Tidy
Organizing your crafting space is not a one-time task. Regularly declutter and reorganize your supplies to maintain an efficient workspace. Spend a few minutes tidying up after each crafting session to prevent clutter from piling up.
C. Creating a Labeling System
Labeling is an essential aspect of craft supply organization. Use clear and descriptive labels on containers, drawers, and shelves to help you quickly find what you need. A labeling system ensures everyone in your household knows where each item belongs.
VIII. Personalizing Your DIY Storage Solutions
Your crafting space is a reflection of your creativity, so don’t be afraid to add a personal touch to your storage solutions.
A. Adding a Touch of Creativity and Style
Incorporate colors, patterns, and decorative elements that resonate with your style. Whether it’s painting storage containers in vibrant hues or adding decorative knobs to drawers, these small touches will make your crafting space uniquely yours.
B. Using Decorative Elements
Consider using decorative elements such as ribbons, washi tape, or stickers to enhance the appearance of storage containers or shelves. These little details can transform simple storage into stylish décor.
C. Customizing Storage Solutions
Customization is key to creating a space that suits your crafting needs perfectly. Tailor your storage solutions to accommodate your specific craft supplies and projects. A well-thought-out space will make your crafting experience more enjoyable and efficient.
IX. Maintenance and Upkeep of DIY Storage Solutions
To ensure your DIY storage solutions stay functional and organized, periodic maintenance and upkeep are essential.
A. Regularly Decluttering and Reorganizing Craft Supplies
Every few months, set aside time to declutter and reassess your craft supplies. Donate or recycle items you no longer use or need. Reorganize your storage solutions based on your current crafting projects and supply inventory.
B. Addressing Wear and Tear
Inspect your storage solutions for signs of wear and tear. Replace damaged containers or fix loose shelves promptly to prevent accidents and maintain an organized space.
C. Adjusting Storage Solutions
As your craft supply collection evolves, you may need to adjust your storage solutions to accommodate new items or changes in your crafting habits. Stay flexible and make necessary adjustments to keep your space organized.
Conclusion
You now have a toolbox full of creative and budget-friendly ideas to organize your crafting space effectively. Remember, an organized space fosters creativity and saves you valuable time during your crafting sessions.
Don’t forget to keep safety in mind when storing hazardous materials and to regularly declutter and reorganize your supplies to maintain a tidy and efficient workspace.
So, what are you waiting for? It’s time to roll up your sleeves, put those crafty hands to work, and transform your craft space into an organized haven of inspiration!
Frequently Asked Questions (FAQs)
1. How can I organize my craft supplies on a budget?
Organizing craft supplies on a budget is entirely possible! Look for budget-friendly solutions like repurposing old furniture, using recycled materials, or shopping at thrift stores and discount outlets for affordable containers. Implementing DIY hacks and creatively repurposing everyday items can also help keep your crafting space organized without breaking the bank.
2. What are some safety tips for craft supply storage?
Safety is paramount when it comes to storing craft supplies, especially hazardous materials like adhesives and sharp tools. Keep these items out of reach of children and pets, and consider using lockable containers or cabinets for added safety. Label hazardous items clearly to prevent accidents. Also, ensure your crafting space is well-lit and well-ventilated to avoid potential hazards.
3. How often should I declutter and reorganize my craft supplies?
Regularly decluttering and reorganizing your craft supplies is essential to maintaining an efficient workspace. Aim to declutter every few months or as needed. Take this opportunity to reassess your inventory, donate or recycle unused items, and adjust your storage solutions based on your current crafting projects and supply needs.
4. Can I personalize my DIY storage solutions to suit my style?
Absolutely! Personalizing your DIY storage solutions is a great way to make your crafting space uniquely yours. Add a touch of creativity and style by painting storage containers in your favorite colors, applying decorative elements like ribbons and washi tape, or adding decorative knobs to drawers. Customizing your storage solutions ensures they cater specifically to your craft supplies and projects.
5. How can I make the most of a small crafting space?
If you’re working with a small crafting space, focus on maximizing vertical space by using wall-mounted solutions like shelves, pegboards, and hanging organizers. Utilize clear containers with labels to easily identify supplies, and opt for compact and foldable storage solutions. Consider mobile carts with drawers that can be easily moved around the room to access supplies conveniently. With a bit of creativity and strategic planning, you can make the most of even the tiniest crafting area.