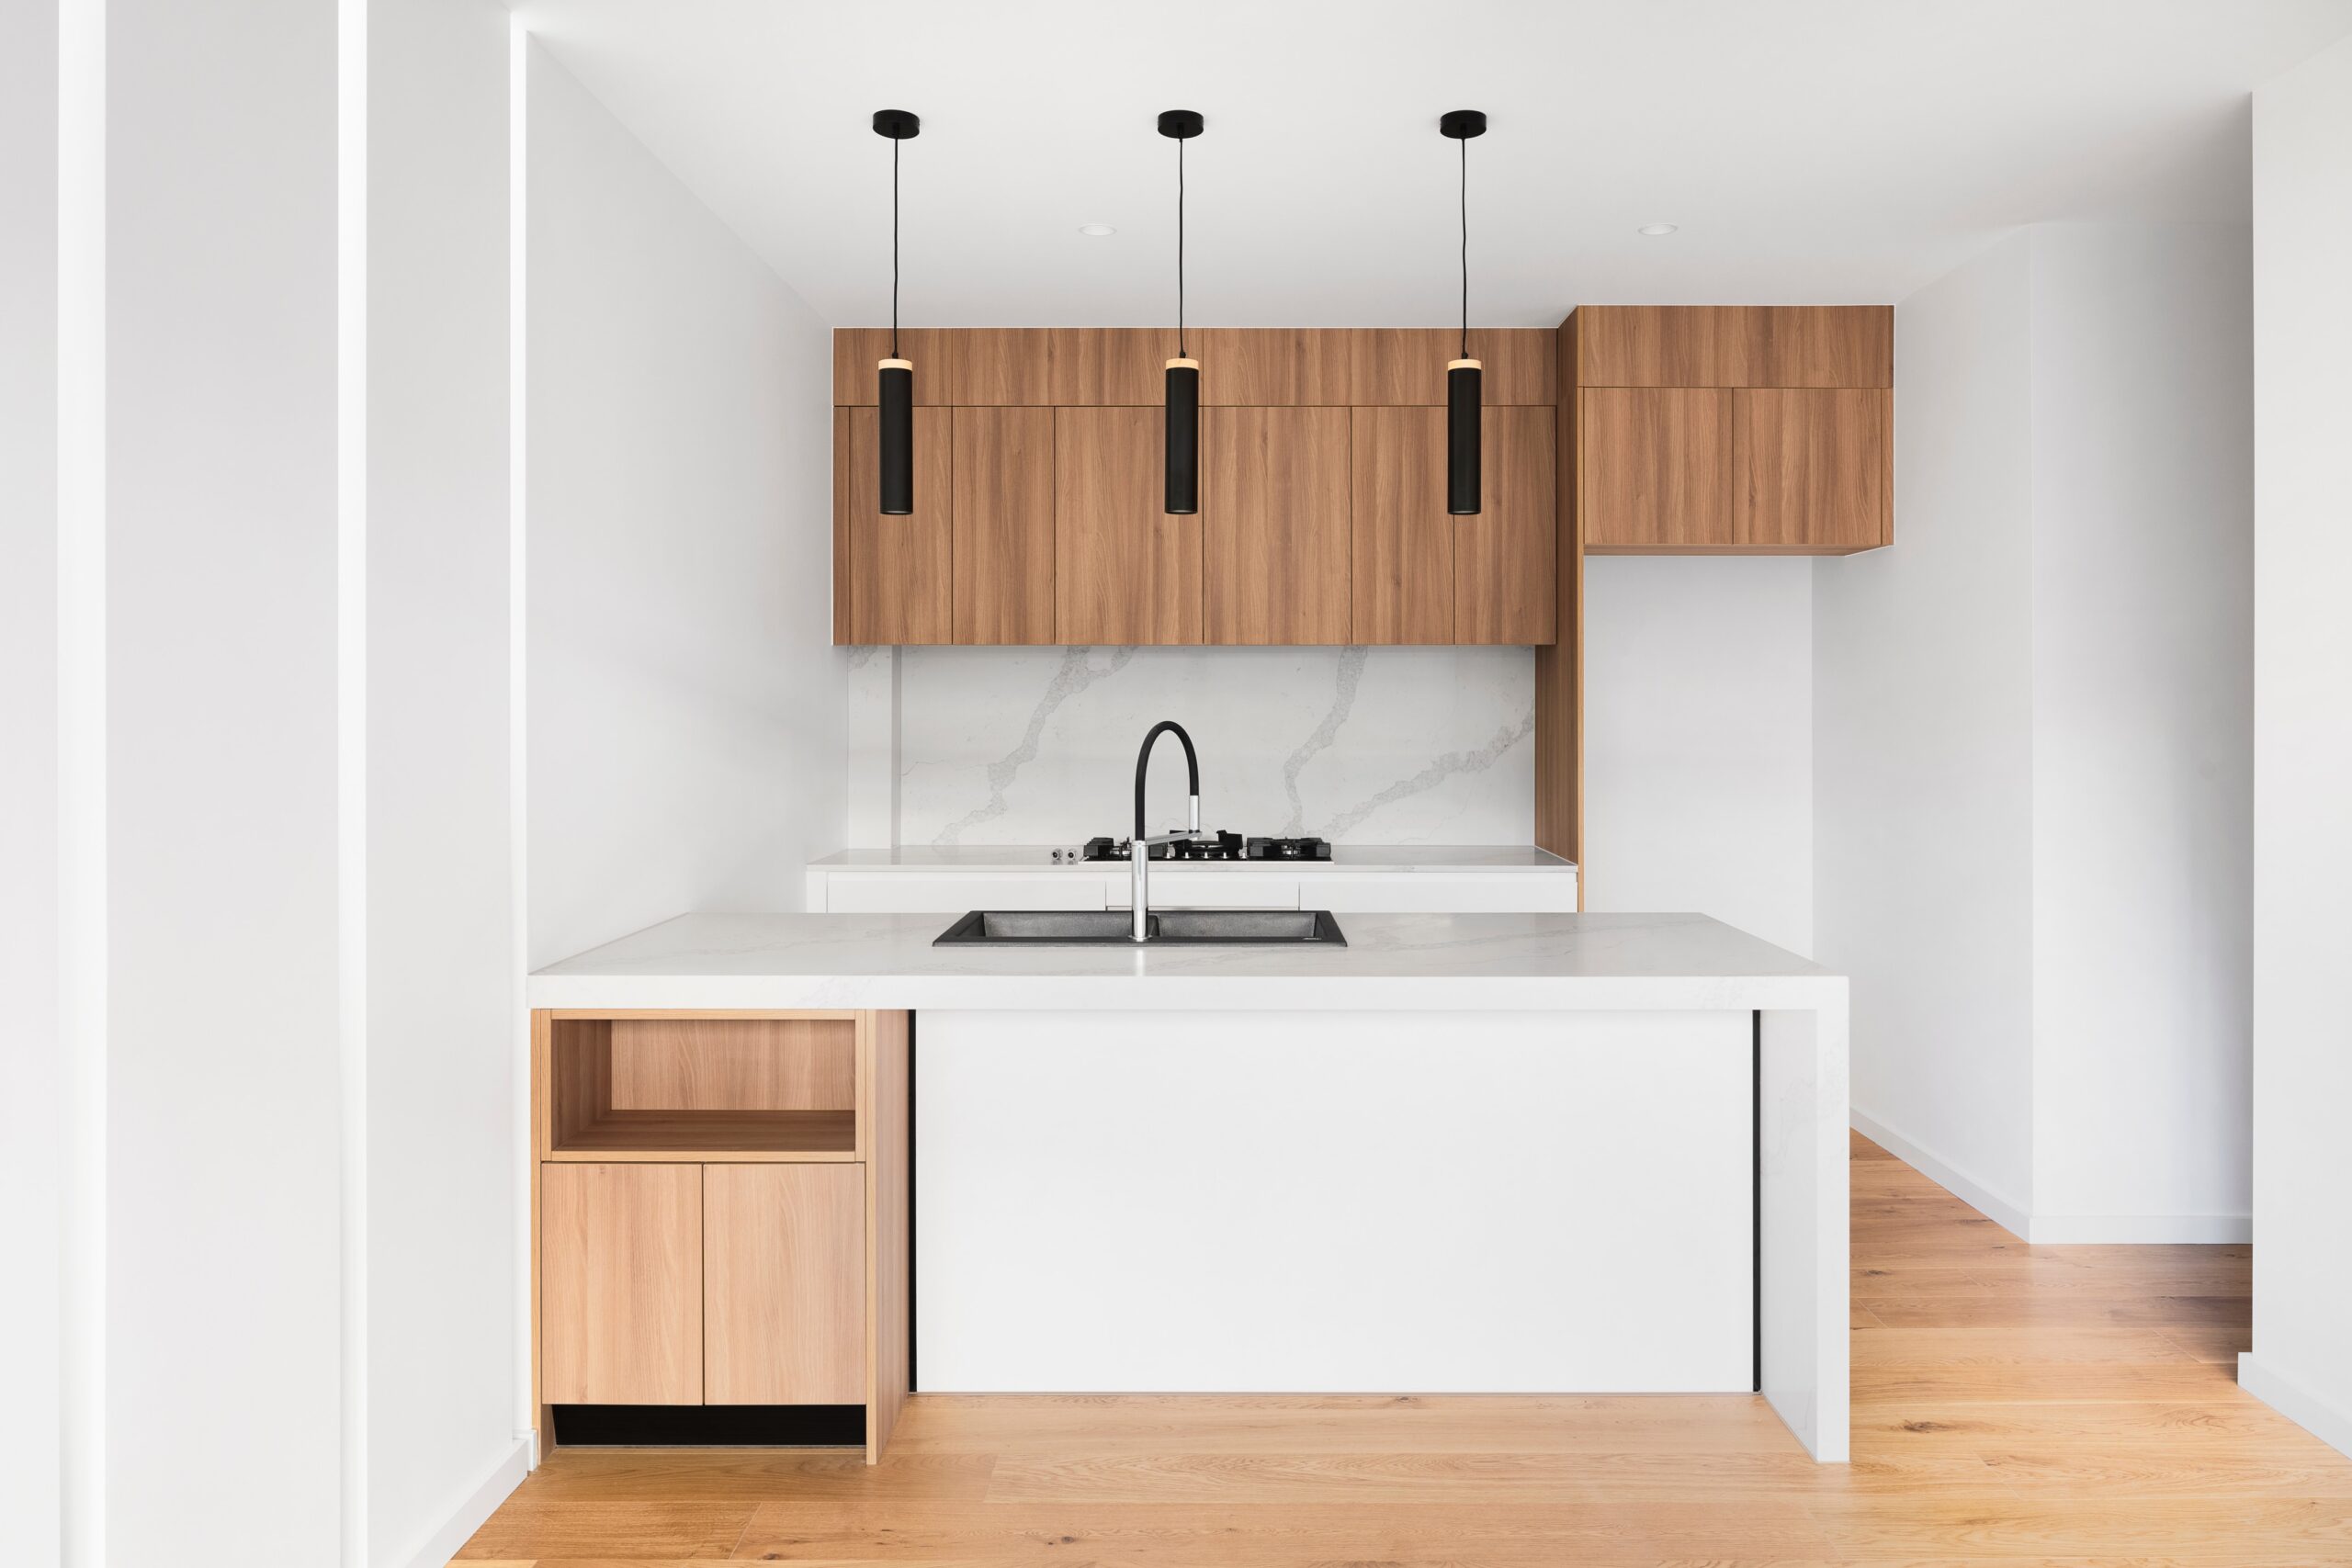
Are you tired of your outdated kitchen cabinets but don’t want to spend a fortune on replacements? Look no further! In this ultimate guide to DIY kitchen cabinet refacing, we’ll walk you through transforming your cabinets and giving your kitchen a fresh new look without breaking the bank.
Why opt for DIY cabinet refacing, you ask? Well, not only does it save you a significant amount of money, but it also allows you to unleash your creativity and customize your kitchen according to your taste.
So, roll up your sleeves, grab your tools, and let’s dive into the world of DIY kitchen cabinet refacing!
What is Cabinet Refacing?
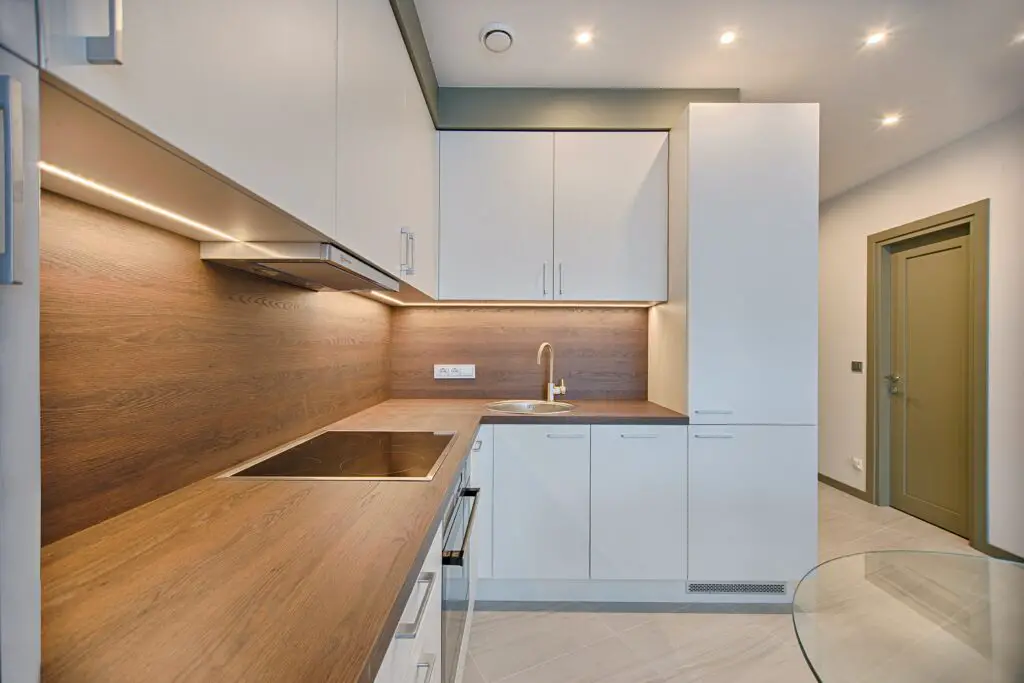
Cabinet refacing is a process that involves updating the external appearance of your cabinets while keeping the existing cabinet boxes intact. This method provides a cost-effective way to transform your kitchen while avoiding the expense and hassle of a full cabinet replacement.
By refacing your kitchen cabinets, you can give your kitchen a fresh, updated look without the need for extensive demolition or reconstruction. It’s a greener and more sustainable option compared to replacing cabinets since it minimizes waste by reusing the existing cabinet structure.
Tools and Materials Needed
To ensure a smooth and successful cabinet refacing project, it’s important to gather all the necessary tools and materials beforehand. Here’s a list of essential items you’ll need:
Tools:
- Screwdriver (both Phillips and flathead)
- Power drill
- Sander or sandpaper
- Jigsaw or circular saw
- Clamps
- Tape measure
- Level
- Paintbrushes and rollers
- Safety goggles and gloves
Materials:
- Veneer or laminate sheets
- Adhesive or contact cement
- Cabinet door handles, knobs, and hinges
- Wood filler
- Sandpaper (various grits)
- Primer
- Paint or stain
Ensure you have these tools and materials readily available before starting your project.
Evaluating Existing Cabinets
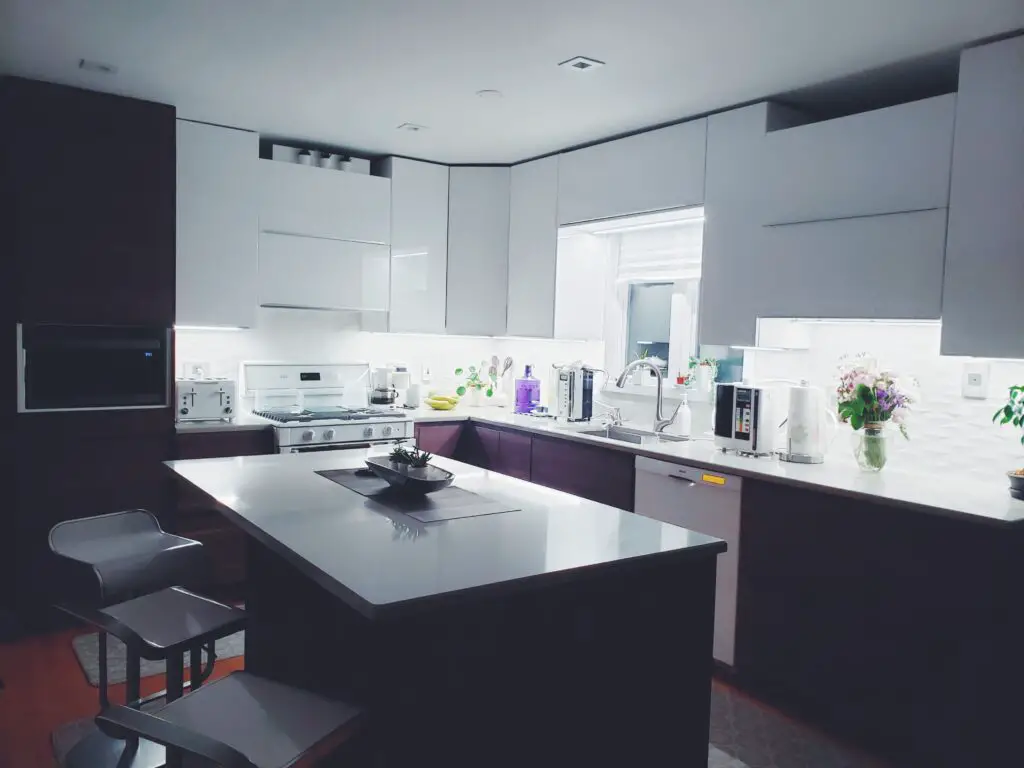
Before you begin the cabinet refacing process, it’s important to evaluate the condition of your existing cabinets. Check for any signs of structural damage, such as warped or sagging cabinets, loose hinges, or cracked frames. If your cabinets are significantly damaged, consider full replacement instead of refacing them.
Additionally, assess the overall layout and functionality of your current cabinets. Determine if they meet your storage needs and if any modifications are required during the refacing process. It’s also a good time to consider if you want to make any changes to the cabinet configuration, such as adding or removing shelves or incorporating new organizers.
Planning the Refacing Project
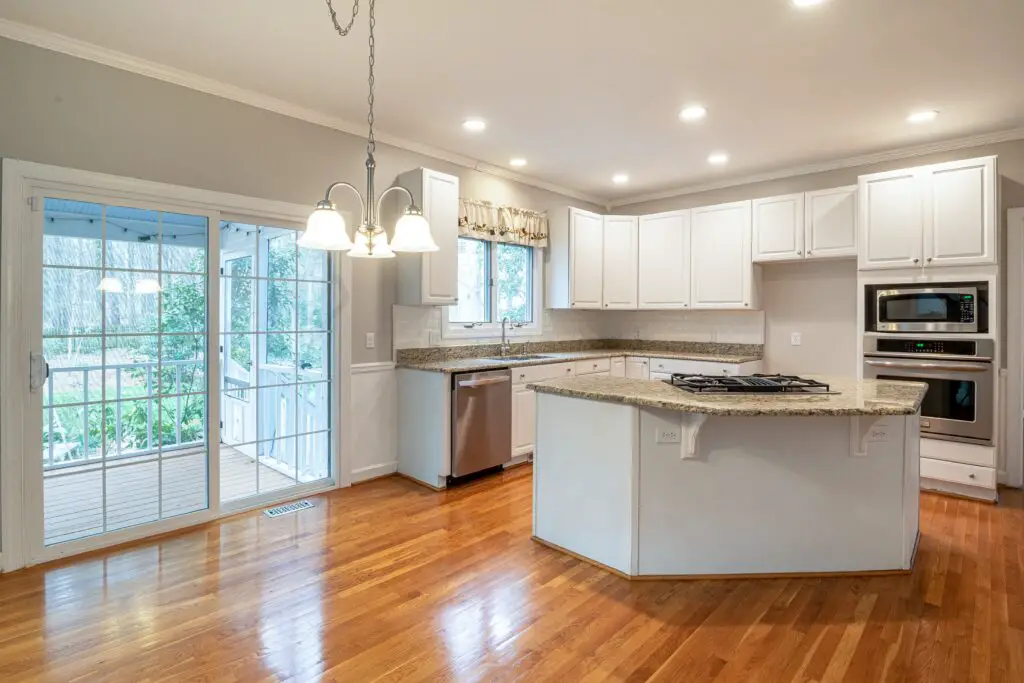
Proper planning is crucial for a successful DIY cabinet refacing project. Take the following steps to ensure a smooth and efficient process:
- Choose a cabinet refacing style or design: Research different styles, colors, and finishes to determine the look you want to achieve. Consider the overall aesthetic of your kitchen and select a design that complements it.
- Select appropriate materials: Decide whether you’ll use veneer or laminate for your cabinet refacing. Veneer offers a natural wood appearance, while laminate provides a wide range of colors and patterns. Consider factors such as durability, maintenance, and cost when selecting.
- Measure and document cabinet dimensions: Accurate measurements are essential to ensure your new cabinet doors and veneers fit perfectly. Measure the height, width, and depth of each cabinet box and the dimensions of the doors and drawer fronts.
By carefully planning and documenting the details of your project, you’ll be better prepared to proceed with confidence.
Removing Cabinet Doors and Hardware
To start the refacing process, you’ll need to remove the cabinet doors and hardware. Follow these steps for a seamless removal process:
- Begin by removing all items stored in the cabinets. This will ensure they don’t get damaged during the process.
- Open each cabinet door and locate the hinges. Unscrew the hinges from both the cabinet boxes and the doors using a screwdriver. Be sure to label each hinge and its corresponding location to simplify reinstallation later.
- Remove any additional hardware, such as handles, knobs, or drawer pulls. Store these components in labeled bags or containers to keep them organized.
- Carefully lift and remove each cabinet door from its hinges. Set them aside in a safe location where they won’t be damaged.
By removing the doors and hardware, you create a clean canvas for the next steps of the refacing process.
Preparing Cabinet Surfaces
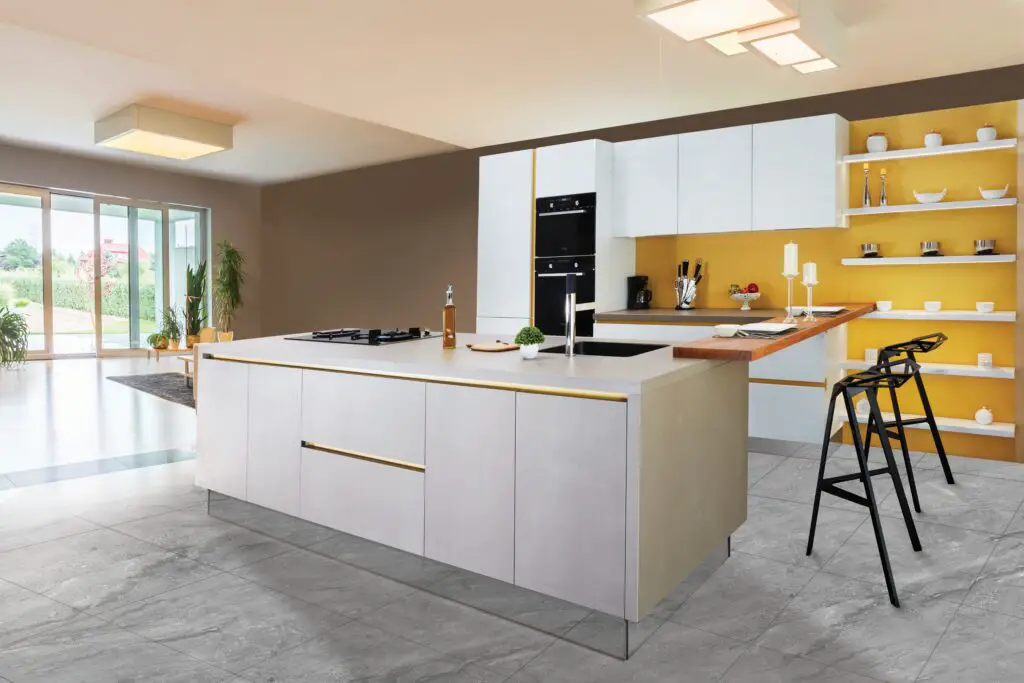
Before applying a new veneer or laminate, it’s crucial to prepare the cabinet surfaces. This involves cleaning, sanding, and filling in any imperfections. Follow these steps for smooth surface preparation:
- Clean the cabinet exteriors: Use a gentle cleaner to remove grease, dirt, and grime from the cabinet surfaces. Ensure all surfaces are thoroughly dry before proceeding.
- Sand the cabinet surfaces: Use sandpaper or a sander to roughen the existing cabinet surfaces. This step helps the adhesive bond better with the cabinets. Start with coarse grit sandpaper and gradually move to finer grits for a smooth finish.
- Fill in gaps, holes, or imperfections: Inspect the cabinet surfaces for any cracks, gaps, or holes. Use wood filler to fill these imperfections, ensuring a level and seamless result. Allow the filler to dry completely, and sand it down until smooth.
By meticulously preparing the cabinet surfaces, you create a solid foundation for the new veneer or laminate application.
Applying Veneer or Laminate
Applying veneer or laminate is the core of the cabinet refacing process. Follow these steps to achieve a professional and durable finish:
- Cut veneer or laminate to size: Measure the dimensions of each cabinet surface and use a jigsaw or circular saw to cut the veneer or laminate sheets accordingly. Ensure the cuts are precise for a seamless fit.
- Apply adhesive to cabinet surfaces: Use a high-quality adhesive or contact cement and apply a thin, even layer to the cabinet surfaces. Follow the manufacturer’s instructions for the adhesive’s application and drying time.
- Attach veneer or laminate to the cabinets: Carefully position the cut veneer or laminate sheets onto the cabinet surfaces. Start from one edge and gradually press the material onto the cabinets, smoothing out any air bubbles or wrinkles as you go. Use a roller or a block of wood covered in a cloth to ensure proper adhesion.
Refacing Cabinet Doors and Drawers
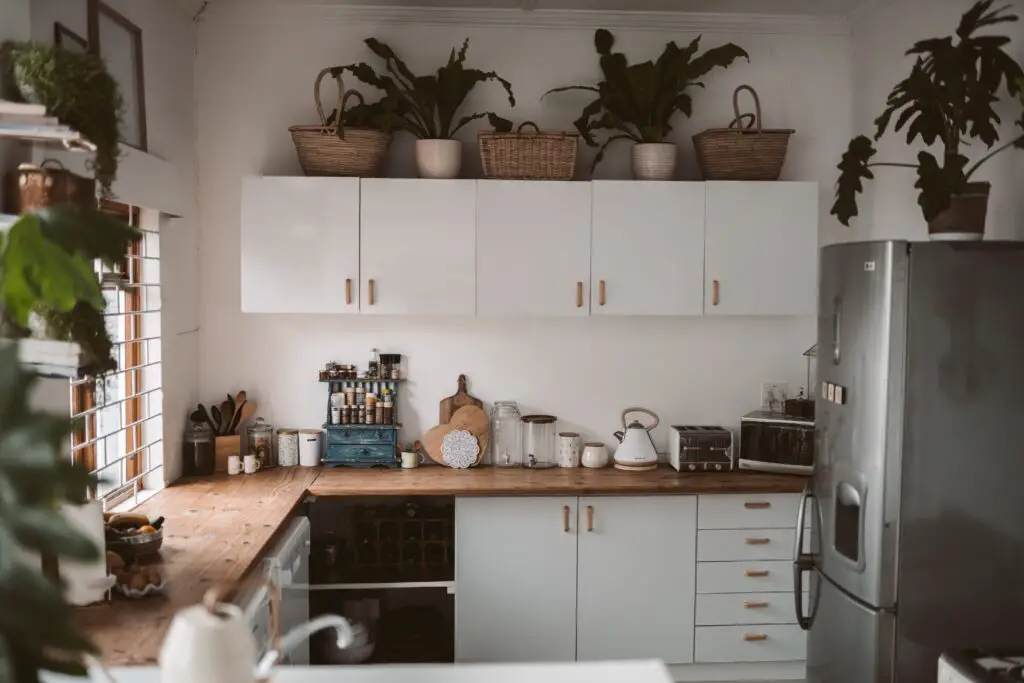
Now that the cabinet surfaces are prepared, it’s time to focus on refacing the cabinet doors and drawers. Follow these steps for a flawless transformation:
- Prepping and sanding the door and drawer fronts: Remove any existing hardware from the doors and drawer fronts. Clean them thoroughly to remove any dirt or residue. Sand the surfaces to roughen them up, ensuring better adhesion of the veneer or laminate.
- Applying veneer or laminate to the door and drawer fronts: Cut the veneer or laminate sheets to fit the dimensions of each door and drawer front. Apply adhesive to the back of the veneer or laminate and carefully position it onto the surface. Use a roller or block of wood covered in a cloth to press and smooth out the material, eliminating any bubbles or wrinkles.
- Trimming excess veneer or laminate and finishing edges: Once the adhesive has dried, trim the excess veneer or laminate using a router or a utility knife, following the outline of the door or drawer front. Use sandpaper to smooth the edges for a seamless finish.
Installing New Hardware and Accessories
Upgrading the hardware and adding new accessories can enhance the overall look of your refaced cabinets. Follow these steps to complete the transformation:
- Choosing new handles, knobs, and pulls: Select hardware that complements your desired aesthetic. Measure and mark the locations where the new hardware will be installed.
- Drilling holes and installing hardware on doors and drawers: Use a drill and appropriate drill bits to create holes for the hardware. Attach the handles, knobs, or pulls securely using the provided screws.
- Installing additional accessories: Consider adding new shelves, organizers, or other accessories to optimize your cabinet’s functionality. Follow the manufacturer’s instructions for installation.
Reassembling and Adjusting Cabinets
With the doors refaced and the hardware installed, it’s time to reassemble and adjust the cabinets for a perfect fit. Follow these steps:
- Reattaching doors and drawer fronts to cabinets: Align the hinges on the doors with the corresponding locations on the cabinet boxes. Secure them in place using the screws. Use the appropriate hardware to attach them securely to the drawer boxes for drawer fronts.
- Aligning and adjusting hinges and drawer slides: Ensure the doors and drawers open and close smoothly. Adjust the hinges and drawer slides to achieve proper alignment and functionality.
- Verifying proper functionality and fit: Test each cabinet door and drawer to ensure they open and close correctly. Make any final adjustments to achieve a seamless and well-fitted result.
Finishing Touches and Final Steps
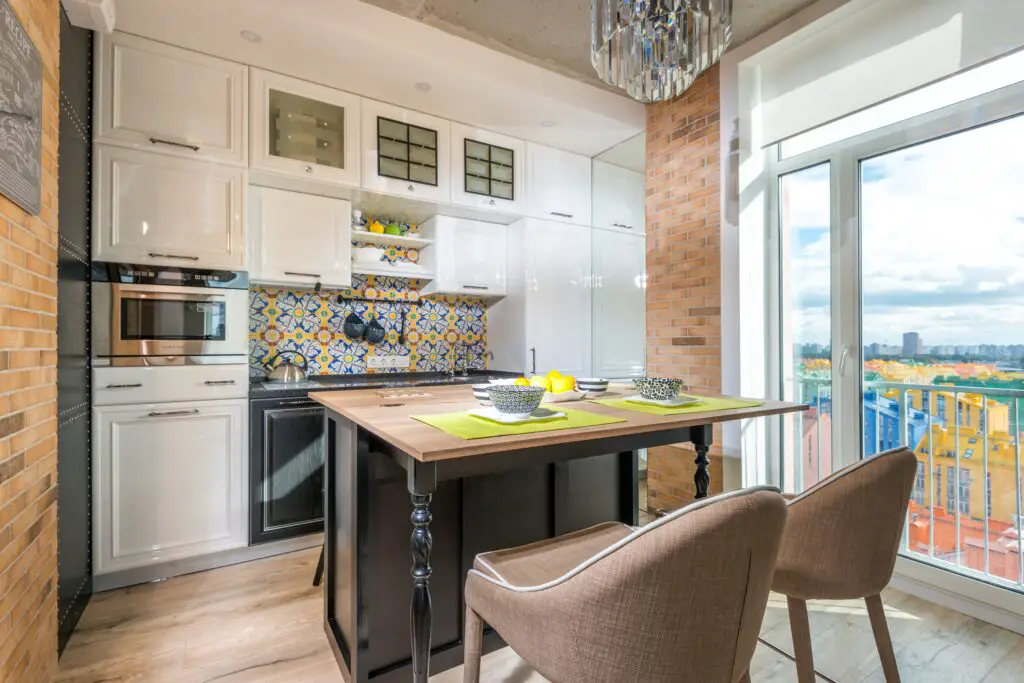
To complete your DIY kitchen cabinet refacing project, focus on the finishing touches and final steps:
- Applying a protective finish to the refaced cabinets: Apply a protective coat such as varnish or clear sealant, depending on your chosen material (veneer or laminate). This will enhance durability and protect the surfaces from wear and tear.
- Cleaning up the workspace and removing debris: Thoroughly clean the kitchen area, removing any dust, scraps, or adhesive residue. Dispose of materials responsibly.
- Tips for maintaining and prolonging the life of refaced cabinets: Regularly clean the refaced cabinets with mild soap and water, avoiding abrasive cleaners. Use furniture polish or a specialized cabinet cleaner to restore shine. Avoid excessive moisture or direct heat exposure to prevent damage.
Troubleshooting Common Issues
During the DIY kitchen cabinet refacing process, you may encounter a few common issues. Here are some troubleshooting tips:
- Bubbling or peeling veneer/laminate: Ensure the surfaces are clean and free from dust or residue before applying the adhesive. Apply firm and even pressure when attaching the veneer or laminate to eliminate air bubbles. If bubbles or peeling occur, carefully lift the affected area, apply more adhesive, and smooth it out.
- Alignment or fit problems: Check the hinges, drawer slides, and overall alignment of the cabinets. Adjust as needed to ensure proper fit and operation. If necessary, consult online tutorials or seek assistance from a professional.
Cost and Time Considerations
DIY cabinet refacing offers significant cost savings compared to a full cabinet replacement. The total cost depends on factors such as the size of your kitchen, chosen materials, and hardware. On average, DIY cabinet refacing can cost around 30-50% less than a full replacement.
The duration of the project varies based on the complexity and size of your kitchen. A smaller kitchen can typically be refaced within a week, while larger kitchens may take a bit longer. Plan accordingly and allocate enough time for each step to ensure a successful outcome.
Conclusion
By following this comprehensive guide, you have transformed your kitchen, saving both money and resources. Your refaced cabinets now reflect your personal style and give your kitchen a fresh and updated look.
Remember to adhere to proper maintenance and care to prolong the life of your refaced cabinets. Enjoy the satisfaction of a successful DIY project and the beauty of your revamped kitchen!
Frequently Asked Questions (FAQs)
1. What is kitchen cabinet refacing?
Kitchen cabinet refacing involves giving your existing cabinets a facelift by replacing the doors, drawer fronts, and hardware while retaining the cabinet structure. It’s an excellent option if your cabinets are in good condition but need a visual upgrade.
2. Can I reface my kitchen cabinets myself?
Absolutely! DIY cabinet refacing is a popular choice for homeowners who want to save money and take on a hands-on project. With the right tools, materials, and guidance, you can successfully reface your kitchen cabinets and achieve professional-looking results.
3. How much does DIY cabinet refacing cost?
The cost of DIY cabinet refacing varies depending on factors such as the size of your kitchen, the materials you choose, and the complexity of the project. On average, DIY cabinet refacing can cost a fraction of the price of cabinet replacement, making it a cost-effective solution for kitchen makeovers.
4. How long does a DIY cabinet refacing project take?
The duration of a DIY cabinet refacing project depends on various factors, including the size of your kitchen, your experience level, and the intricacy of the design. Generally, you can expect the project to take a few days to a couple of weeks to complete.
5. Do I need any special tools or skills for DIY cabinet refacing?
While DIY cabinet refacing doesn’t require advanced skills, it does necessitate some basic tools such as a screwdriver, sander, and paintbrush. Familiarity with power tools and basic carpentry skills will be helpful but are not mandatory. As long as you follow the instructions carefully and take your time, you can achieve professional-looking results.
